Do-it-yourself nose pick carnival game in 3 easy steps
Everyone loves a good carnival game but the nose pick carnival game has got to be the best. It’s hilarious, easy and fun for the entire family. Here’s how you can make one today for your next carnival, party or family reunion. Check it out!
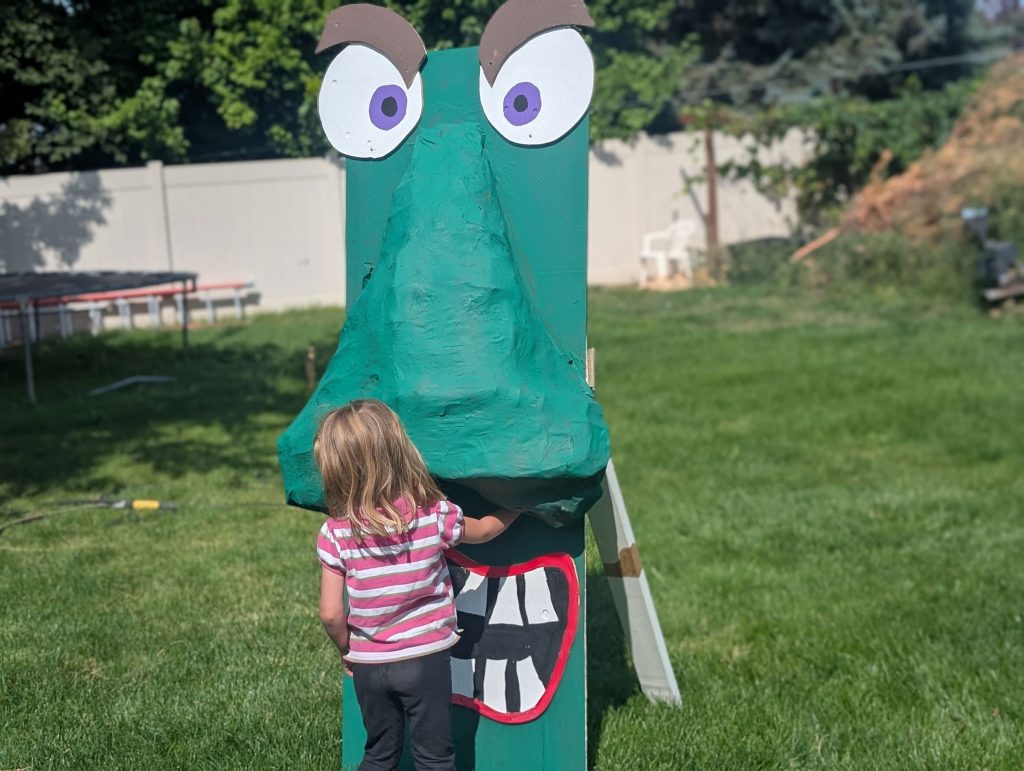
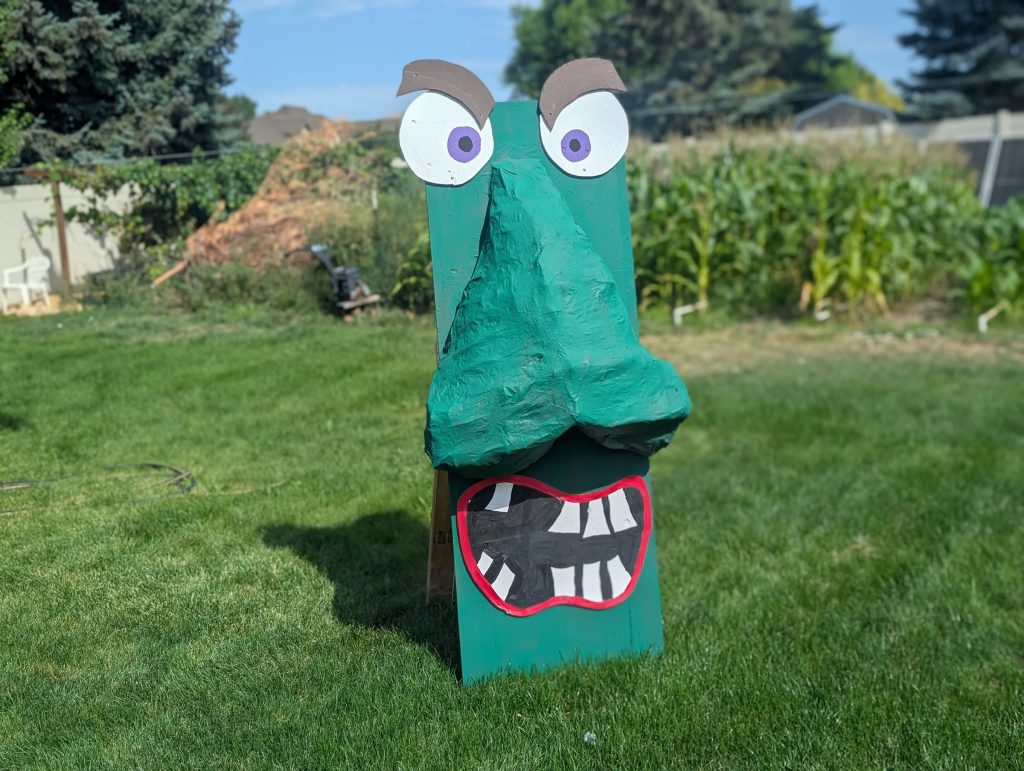
This game brings a smile to the faces of everyone who plays it. You’re basically picking a witch’s nose in hopes to find a surprise inside. It’s awesome! I made a witch for this carnival game, but you can make a man, monster or whatever you want. Here’s exactly how to make this sweet carnival game today!
Gather your nose pick carnival game supplies
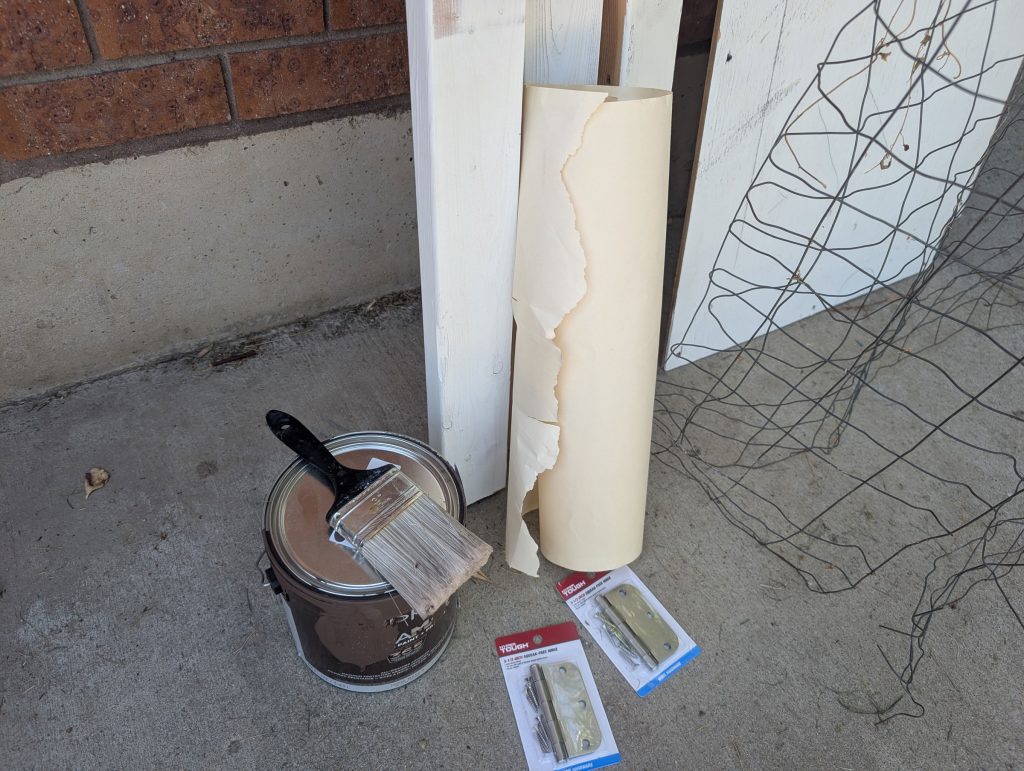
Many of the supplies for this game can be found around the home or in your backyard. I got the wood for free on Facebook Martketplace. Here’s everything you’ll need:
- 5’8″x 2′ sheet of plywood
- Extra plywood for the eyes and mouth
- 2′ two-by-four
- 2 (3’8″ inches long ) two by fours
- Chicken wire
- Screws – Paint
- Two hinges
- Flour, water, paper (for paper mache)
- Two hooks and baskets with handles
- Jigsaw
- Green slime
- Assorted candy or green tootsie rolls
Step #1: Assemble the main wood structure
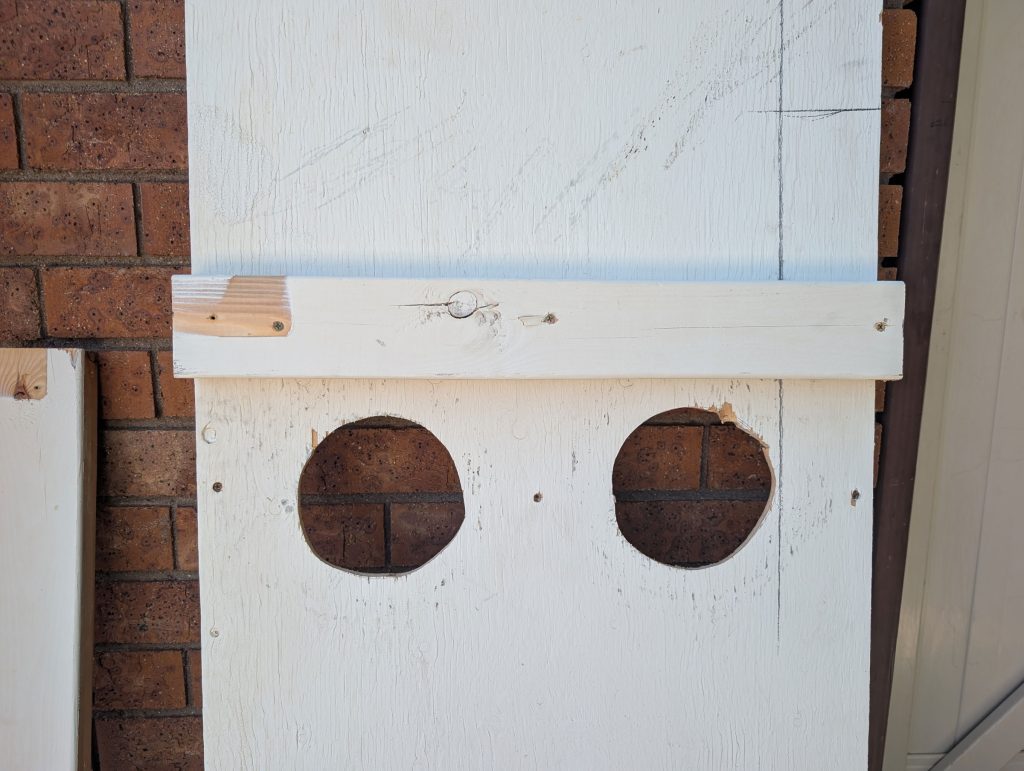
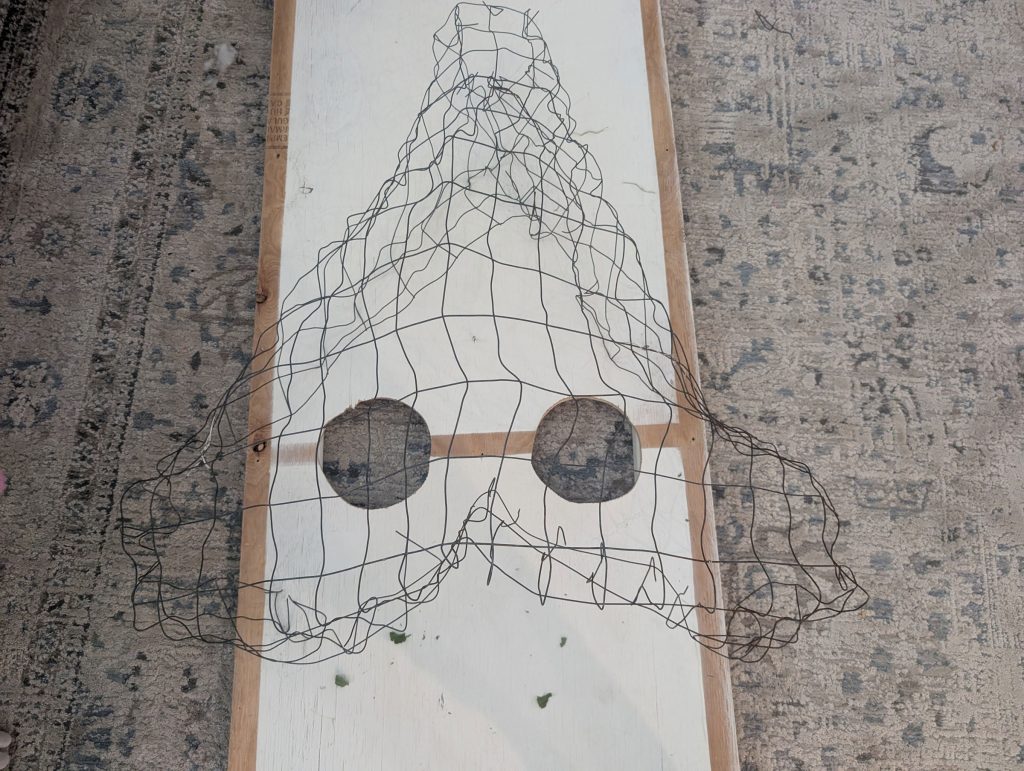
Using a 5’8″x2′ piece of plywood (or plywood of similar size), cut two 6-inch holes in the middle of the plywood board about 5 inches apart using a jigsaw (see image below). These holes are the nostrils. This is where participants will put their hands to find a treat. Then, screw a 2-foot piece of 2×4 about one inch above the holes.
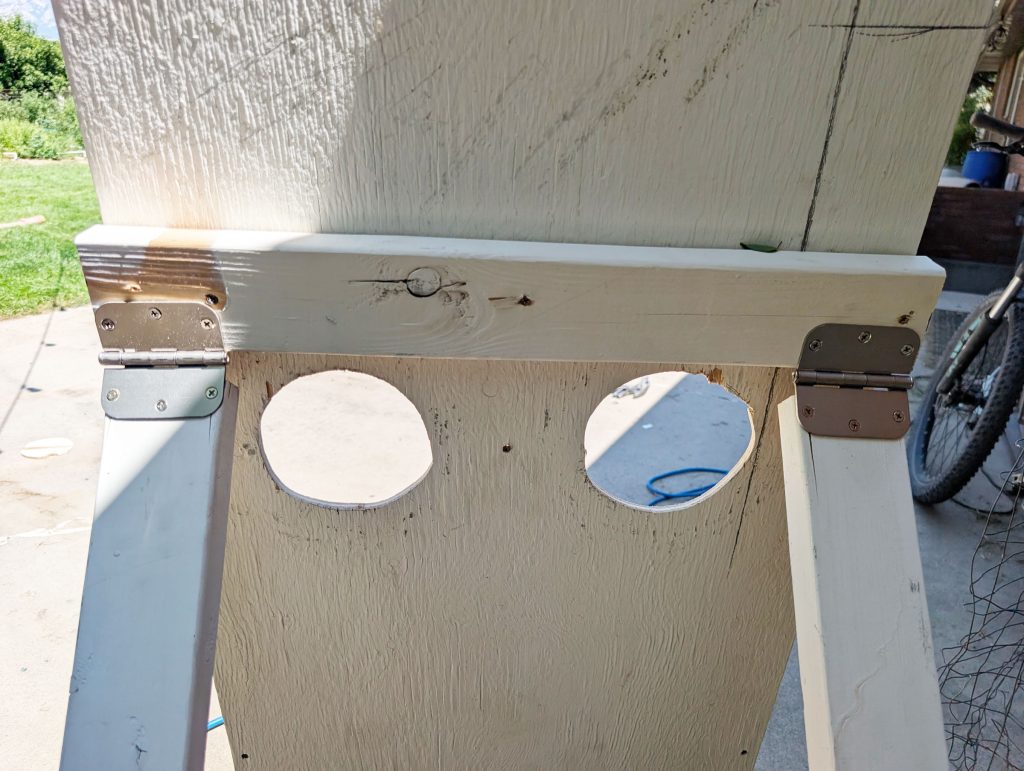
Attach two hinges on both ends of the two-by-four and then attach two 3’8″ long two-by-fours for the legs. This will allow the game to stand up on its own.
Step #2: Make the nose
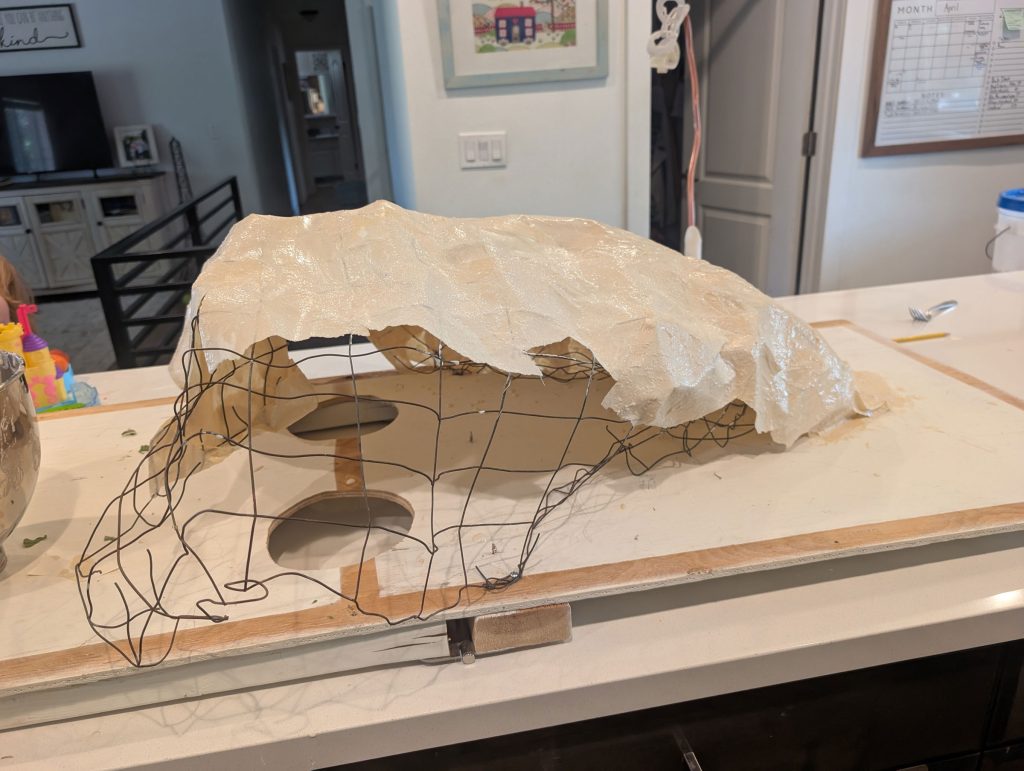
Using chicken wire or Styrofoam, form a giant nose that will be placed above the nostrils on the plywood. It’s okay if the nose reaches over the edges of the plywood. It’s supposed to be an oversized nose after all. Secure the wire nose to the plywood with screws.
Complete the nose by covering it with paper mache. First, mix flour and water in a mixing bowl until you reach the consistency of pancake batter. Dip pieces of butcher paper or newspaper in the paper mache and place each piece on the wire nose until it is completely covered. Allow at least 24 hours for the paper mache to dry. Make sure it is completely covered with no holes.
Step #3: Finish the face
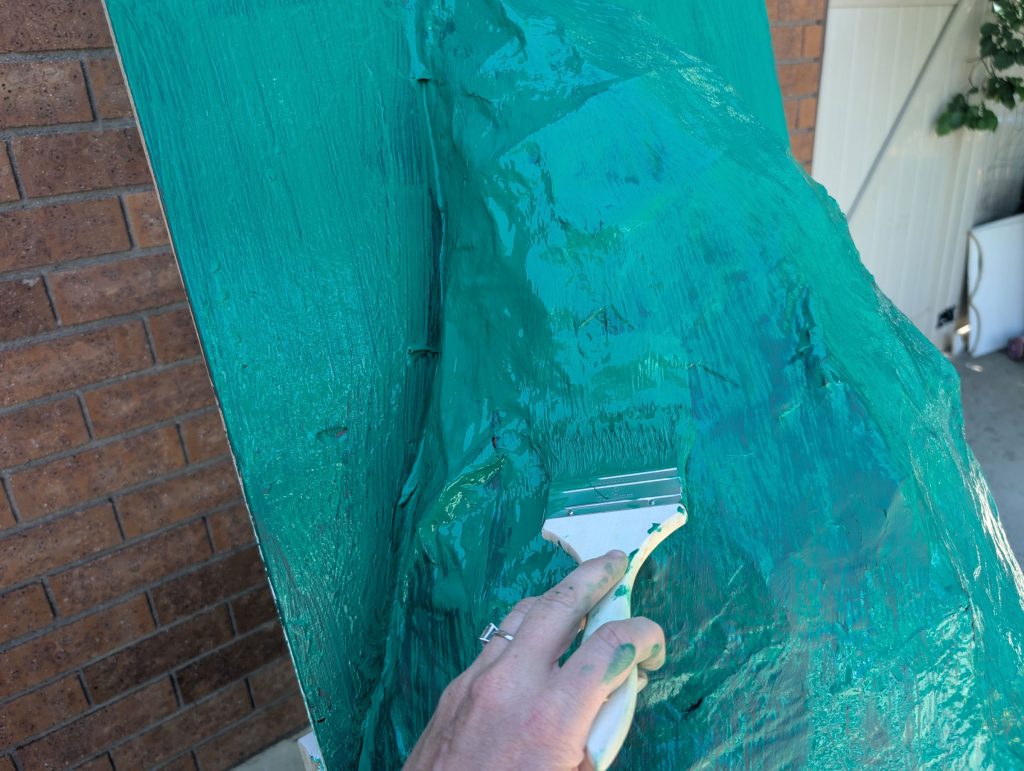
Once the paper mache is completely dry, paint the nose and the plywood green. If you’re not making a witch, you can paint it whatever color you want.
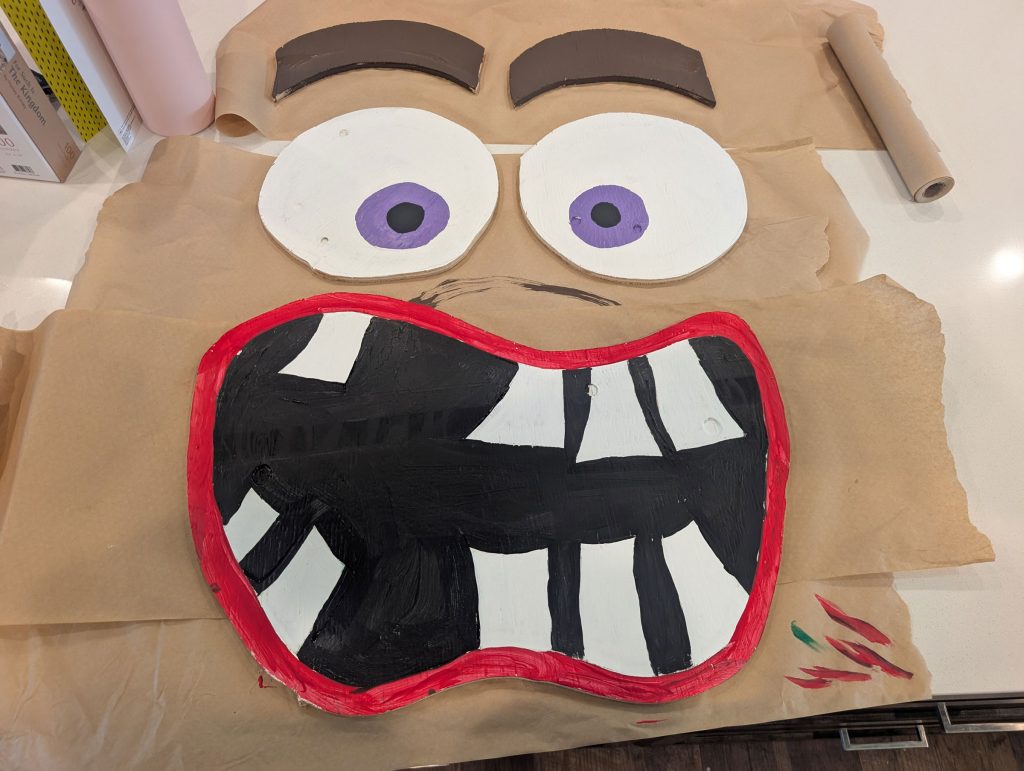
Using the extra plywood, cut out two eyes, eyebrows and a big mouth with a jigsaw. Then paint them and attach to the plywood with screws and a drill.
You’re done! When you’re ready to play the game, attach some hooks above the holes on the back and hang some buckets of candy. You can also put candy in one bucket and green slime in the other to make it extra fun.

Kids can line up in front of the game and take turns picking the witch’s nose. The kids will love picking the nose to find out if they got slime or candy. You can have someone sitting behind the game to switch the buckets around for each participant.
More from My Silly Squirts: DIY Candy Bouquet


