DIY scrunchie tutorial in 10 minutes (beginner sewing project)
If you’re new at sewing and you want to try an easy project, this DIY scrunchie tutorial is just the ticket. In just 10 minutes, you’ll have your own homemade scrunchie on the cheap. Check it out!
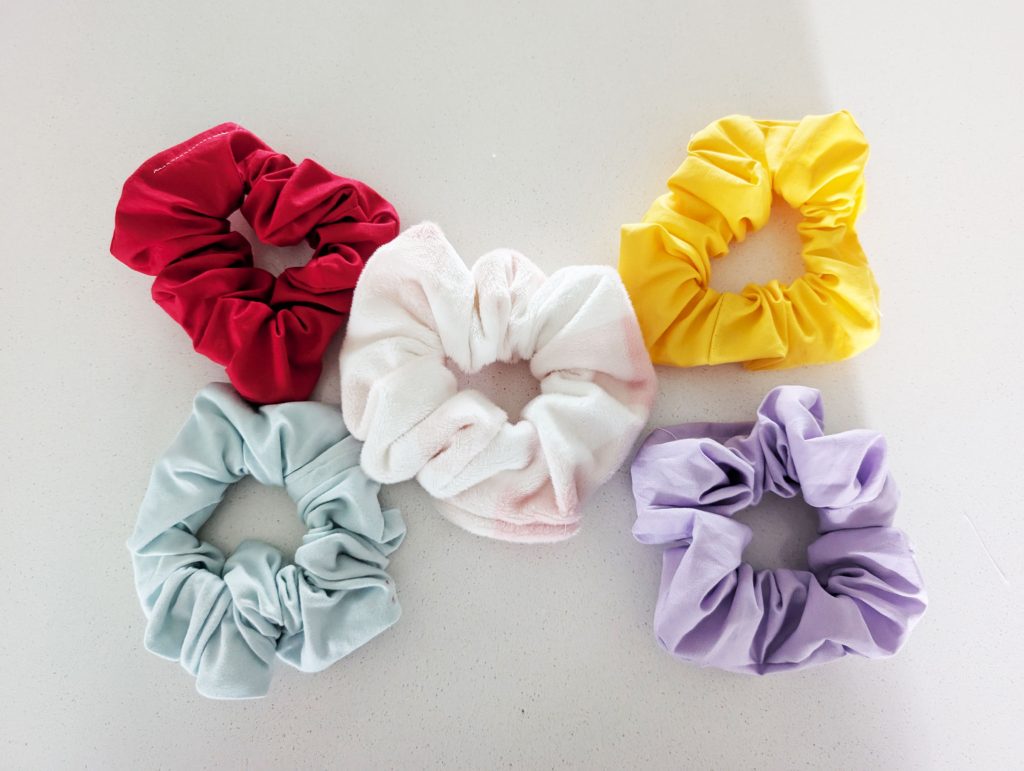
I recently snagged a really nice sewing machine at a yard sale for a bargain! So, of course, I had to try out a new sewing project. Since my daughter loves scrunchies, I thought a DIY scrunchie tutorial would be just the ticket. Plus, it’s super inexpensive and easy. Let’s get started!
Gather your scrunchie supplies
You don’t need very many supplies to make your own scrunchies. Most of the items you’ll probably already have at home. Here’s what you’ll need:
- Scrap fabric
- 1/4″ wide elastic band
- Scissors
- Measuring tape
- Pins
- Sewing machine

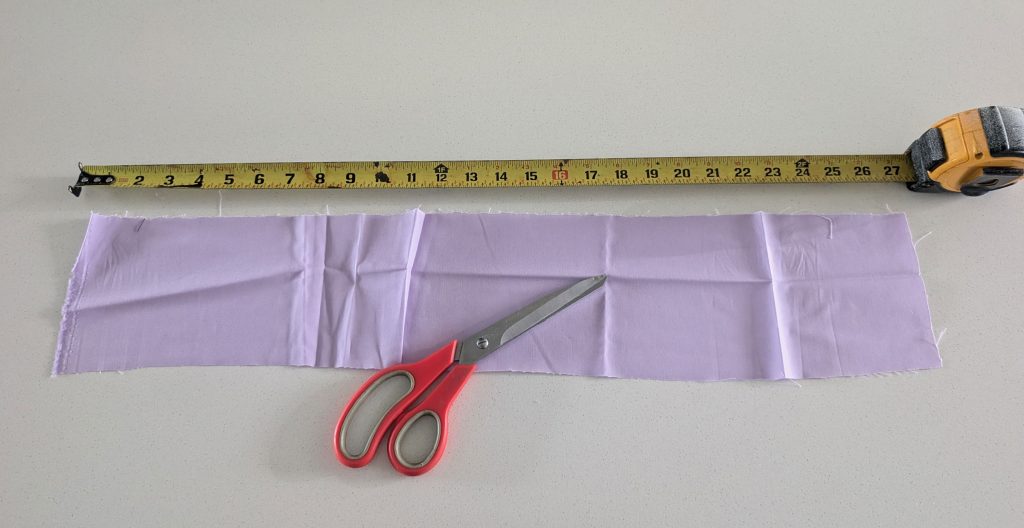
Cut and sew the end of the fabric
Any type of fabric will work but I have found that cotton is the easiest to work with while making these scrunchies. You’ll need to measure and cut your fabric so it is 27 inches long and 5 inches wide. It’s easiest to use a cutting mat and a rotary cutter to cut your fabric but scissors and a measuring tape will work too.
Next, fold your fabric in half and sew the two short ends together. Make sure the wrong side of the fabric (if applicable) is facing out.

Prep and sew sides of scrunchie
Lay your fabric on the table with the seam faced down. Fold the top layer up halfway and then fold the upper part of the top layer down halfway. Then fold the bottom layer up over the folded layer in the middle to align with the top of bottom layer (see image below).

Sew open side edge
Pin the two open edges together and now you can start sewing. Starting at the top, begin sewing together the two open edges. Make sure you don’t sew the middle layer that is wedged inside. As you sew down, feed the middle layer down so you can continue to sew the open edges around the complete scrunchie. Leave about an inch and a half unsewn so you can insert the elastic.

Insert elastic and finish
Finally, turn the scrunchie right side out. Attach safety pins to the ends of a 10 1/2″ piece of elastic. Thread one end of the elastic inside the scrunchie until it wraps around back to the same opening. Make sure the other end of the elastic remains outside of the scrunchie. Remove the safety pins and tie a knot with the two ends of the elastic. Sew the remaining inch and a half of the scrunchie and you’re done!

That’s it! I hope you enjoyed this DIY scrunchie tutorial. These scrunchies are perfect for gifts for friends and family, party favors or just for fun. Enjoy!
More from My Silly Squirts: Super simple DIY candy bouquet


2 Comments