How to stain a concrete floor in three simple steps
Staining your concrete floor isn’t as hard as you might think. With just a few supplies, you can have beautiful finished basement flooring for a fraction of the cost. Here’s all the details on how to stain a concrete floor. Check it out!
For the past two months, we have been finishing our basement. Instead of paying thousands of dollars on new flooring, we decided to try staining the concrete. Sometimes these DIY projects don’t turn out very well, but I loved the way our floors turned out and it was sooooooo much cheaper. Here’s how I did it and how you can do it too.
Gather your concrete staining supplies
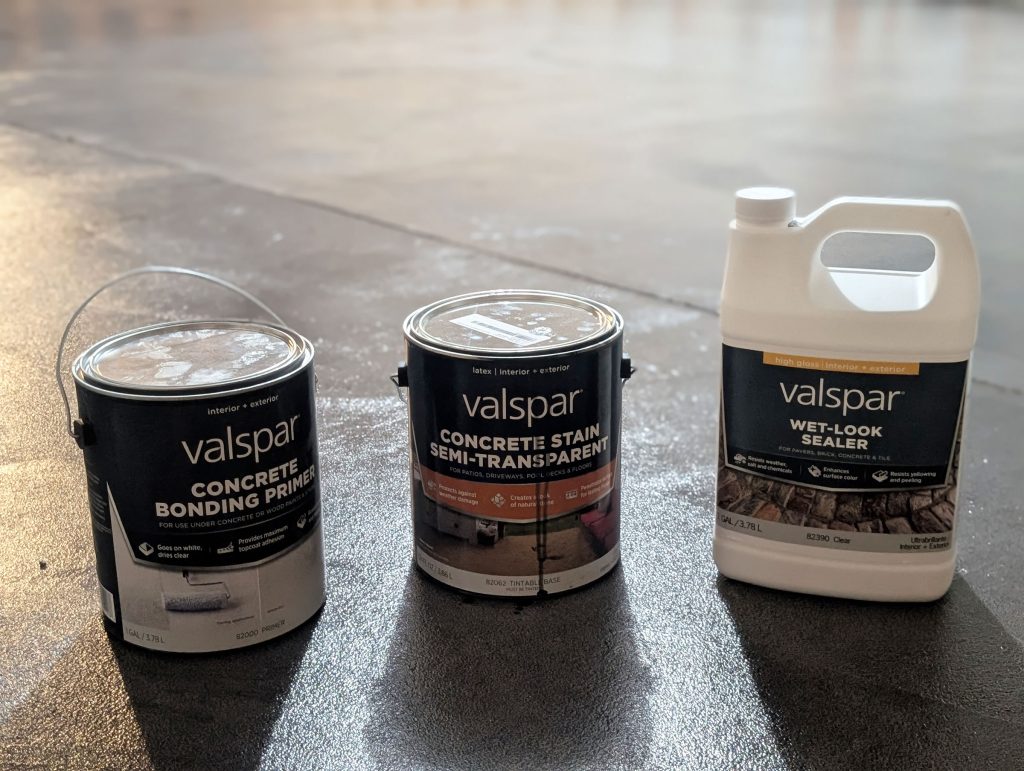
I got all of my supplies at Lowe’s but you can also buy these supplies on Amazon as well. Here’s what you’ll need:
- Concrete bonding primer
- Concrete stain semi-transparent
- Wet look concrete sealer
- 18-inch paint roller kit (this makes it go so much faster)
- Broom
- Mop
- Small paint brushes
- Paint brush and roller covers
You really need three paint brushes and three rollers, one for each step. Otherwise you’ll be cleaning out each paint brush and roller before each step. Super annoying.
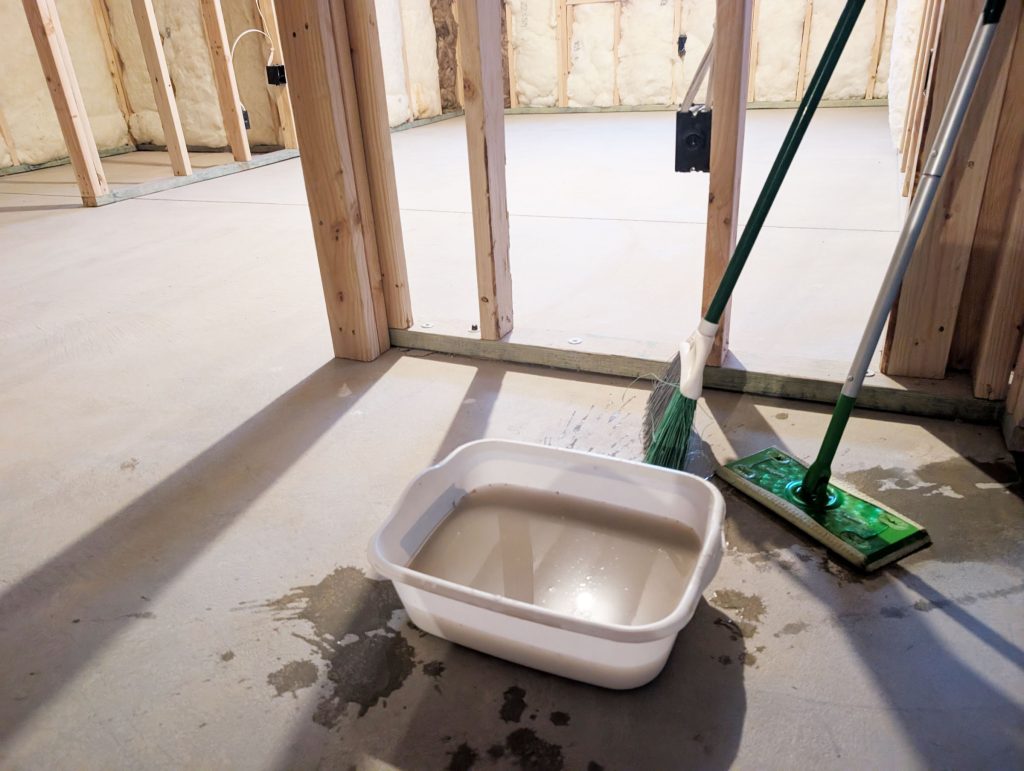
Prep your concrete
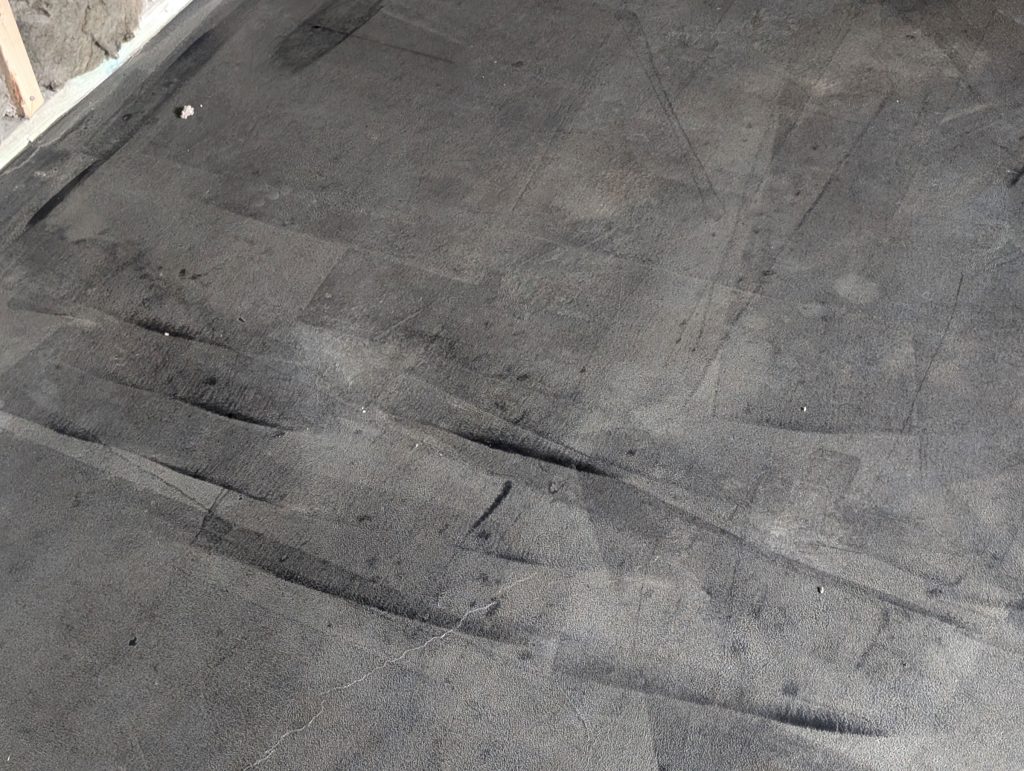
The concrete floor in our basement was in really good shape before we even started staining. All I had to do was sweep really good and then mop any remaining dust particles. We had a few stains on our concrete that we couldn’t remove. But we just left it and the end look was like an industrial-type rustic look.
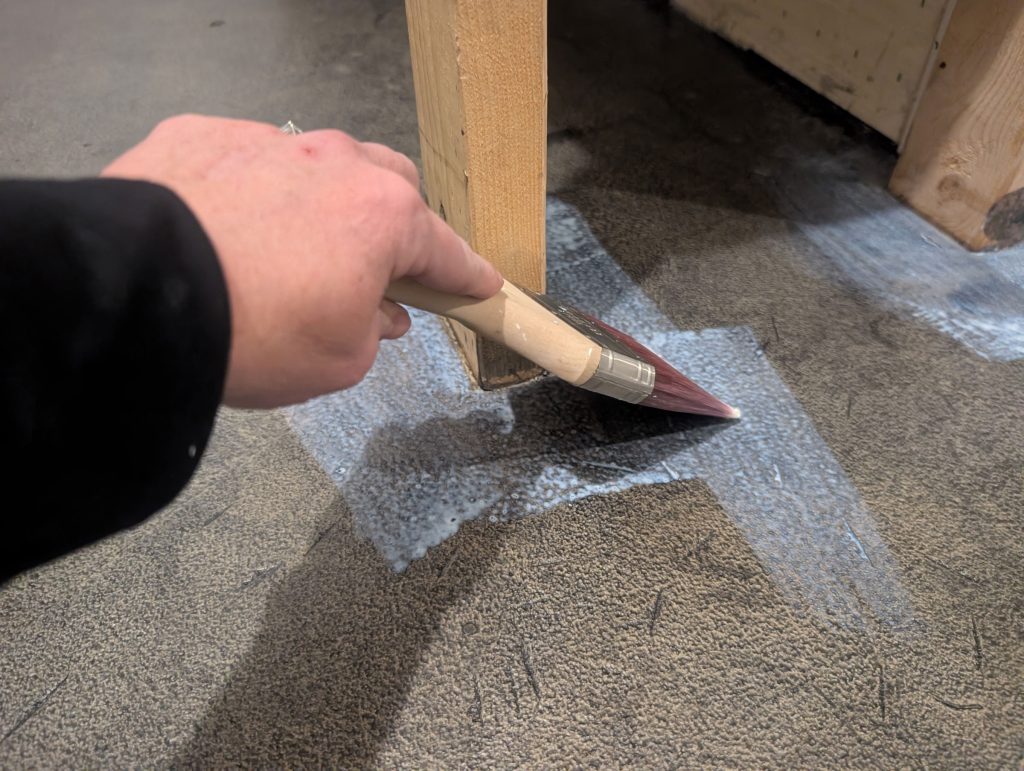
Step #1: Concrete bonding primer
The concrete bonding primer is a very important necessary step. Don’t skip it! The primer allows for a strong bond between the concrete and stain. Apply a generous layer with a paint roller. I also edge the sides with a small paint brush before rolling the rest to make sure I got full coverage. The primer goes on white and dries clear.
Step #2: Semi-transparent concrete stain
This is probably the trickiest part but it’s still pretty easy. When you buy your stain at the store, it will need to be tinted to the color that you want. We tried three different colors before finally deciding on onyx. It’s a darker color, almost black. But I like the industrial, rustic look it provides.
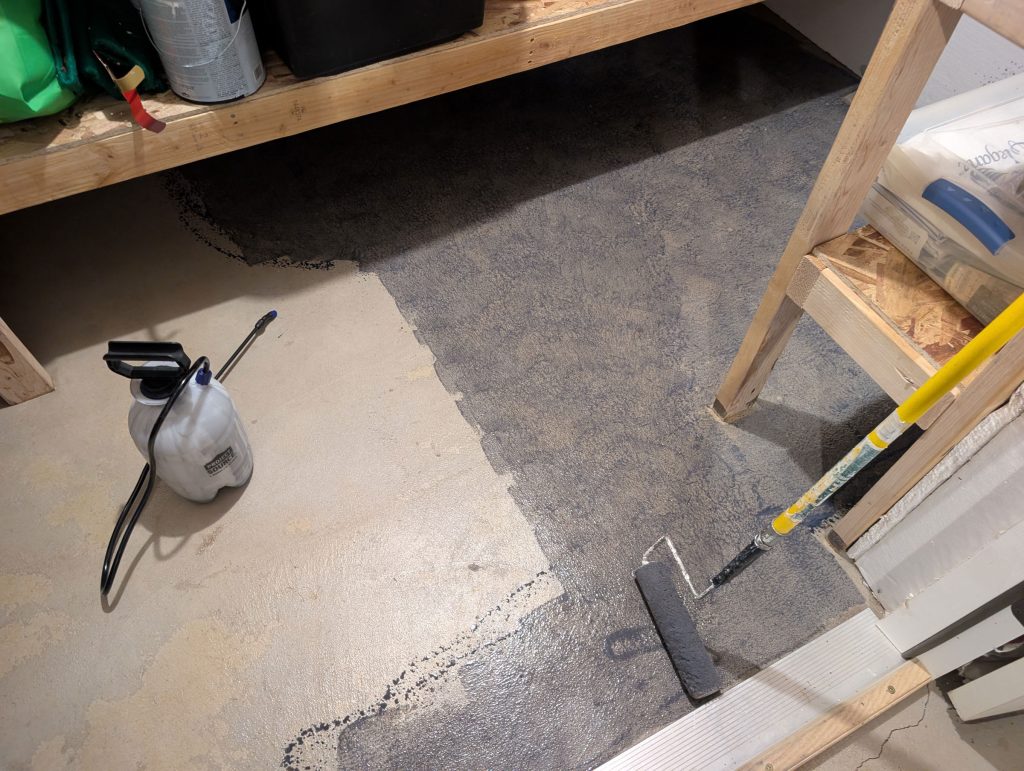
The instructions on the can say that you can apply the stain with a garden sprayer but it just ended up looking splotchy and ugly. So, I rolled it instead. I did two layers. The second layer really helps even the look of the stain, just like when you paint a wall.
One word of caution, as you roll the stain out, don’t overlap the sections. It ends up making some areas darker than others. It’s pretty hard to avoid overlapping completely, but do your best. I finally got the hang of it after staining 5 rooms, ha ha.
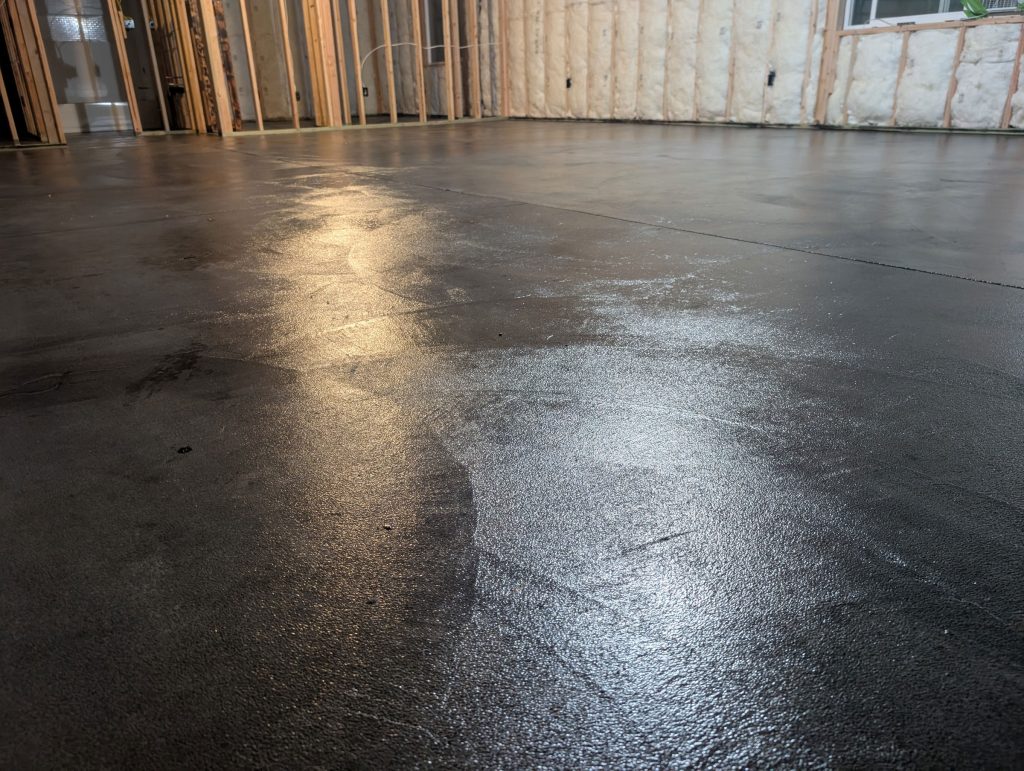
Step #3: Wet look sealer
Now for the final step. Apply a generous layer of wet look sealer over the stain. Made sure there is not puddling. You don’t have to be careful about overlapping the layers on this step because the sealer dries clear. This gives your floor this shiny, finished look and it’s beautiful.
Tips and tricks to staining your concrete floor
- Small supply: Buy a small supply of each layer at first to see how far it goes. I was surprised how much area one can covered.
- Test different stains: We bought three different semi-transparent stains and tested them on the concrete in our storage room. We wanted to make sure we really liked the color.
- Overlapping: I mentioned this earlier, but try to apply your stain in straight even rows that don’t overlap. Otherwise, certain spots will look darker than others.
- 18-inch paint roller: If you’re trying to cover a really large area, an 18-inch paint roller makes the entire process go so much quicker.
- Footsteps: Avoid walking on the stained area before you apply the sealer. It shows footprints really easily and you’ll just have to clean it up again.
- Don’t wait to long: Make sure you apply the stain within four hours but not sooner than one hour after you apply the concrete primer. If the primer totally dries, it won’t bond to the sealer.
- Dry time: The instructions on the can say to wait 24 hours before applying the sealer on the stain, but honestly, I waited about two to three hours and it was fine.
- Stains: Try to get all the stains off your concrete floor before you begin. However, there were a few spots we couldn’t get out and we just stained over it. Although, you can see small imperfections, it just adds to the aesthetic of the industrial, rustic look.
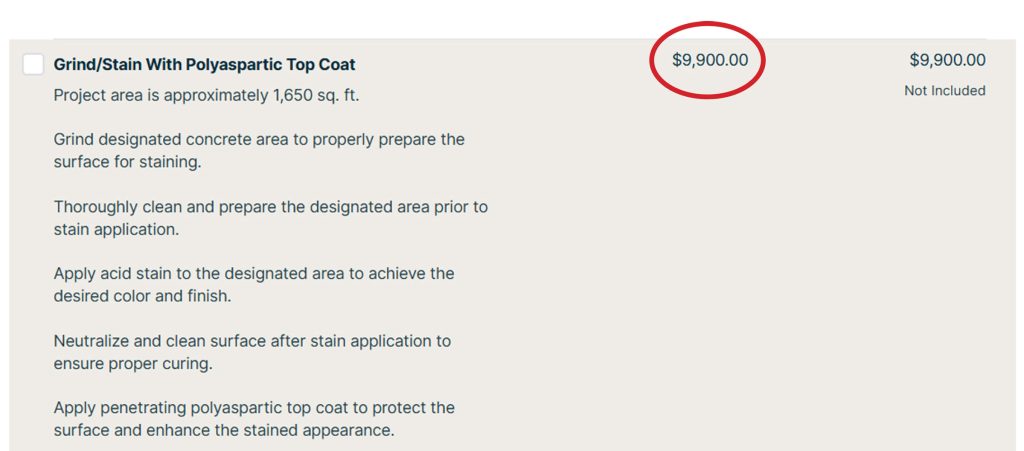
Price comparison: DIY vs professional
Although my finished DIY concrete stain job isn’t perfect, the price tag is. It only cost me $768 for supplies to stain by 2200-square-foot basement. On the other hand, we received a quote from a professional concrete staining company and their quote was $9,900! That’s just as much as getting LVP or carpet.
I hope this gives you a little bit better idea of how to stain a concrete floor. I was pleasantly surprised how ours turned out and I hope your project is just as successful. Let me know how it goes in the comments below.
More from My Silly Squirts: Try this 3-ingredient natural weed killer


