How to install a faux brick wall in your basement
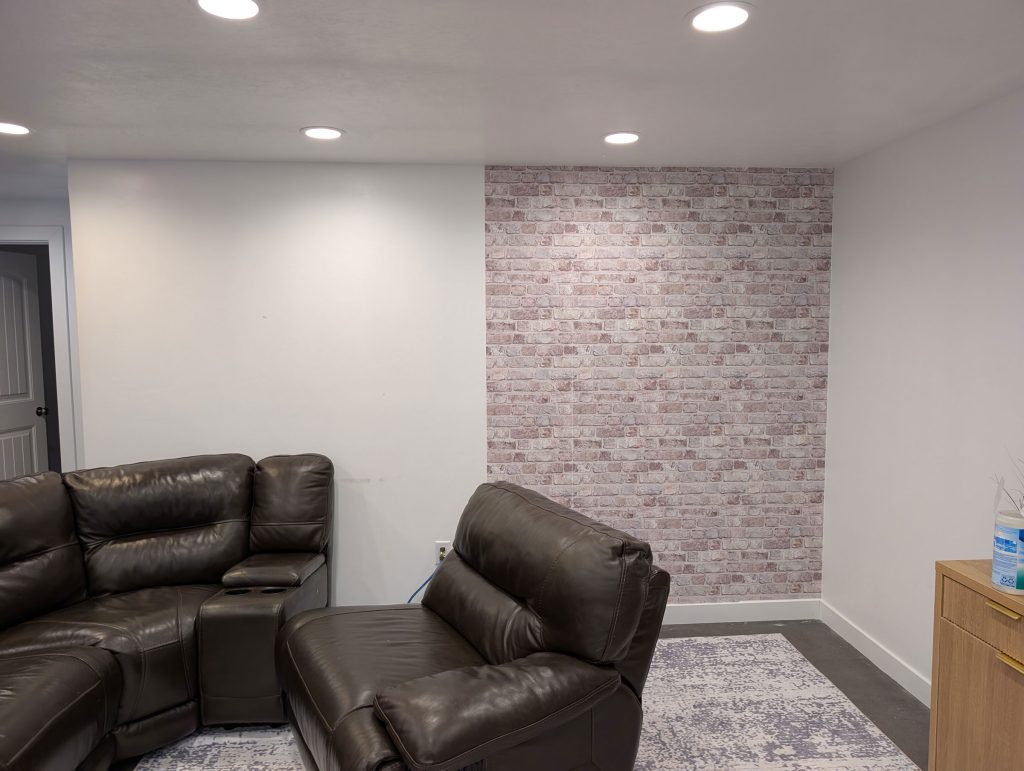
If you’re looking for an easy and inexpensive way to upgrade the look and feel of your basement, a faux brick wall is the way to go. In just a few hours, you’ll have an urban and rustic feel to an otherwise boring living space. And it’s so easy! Check it out.
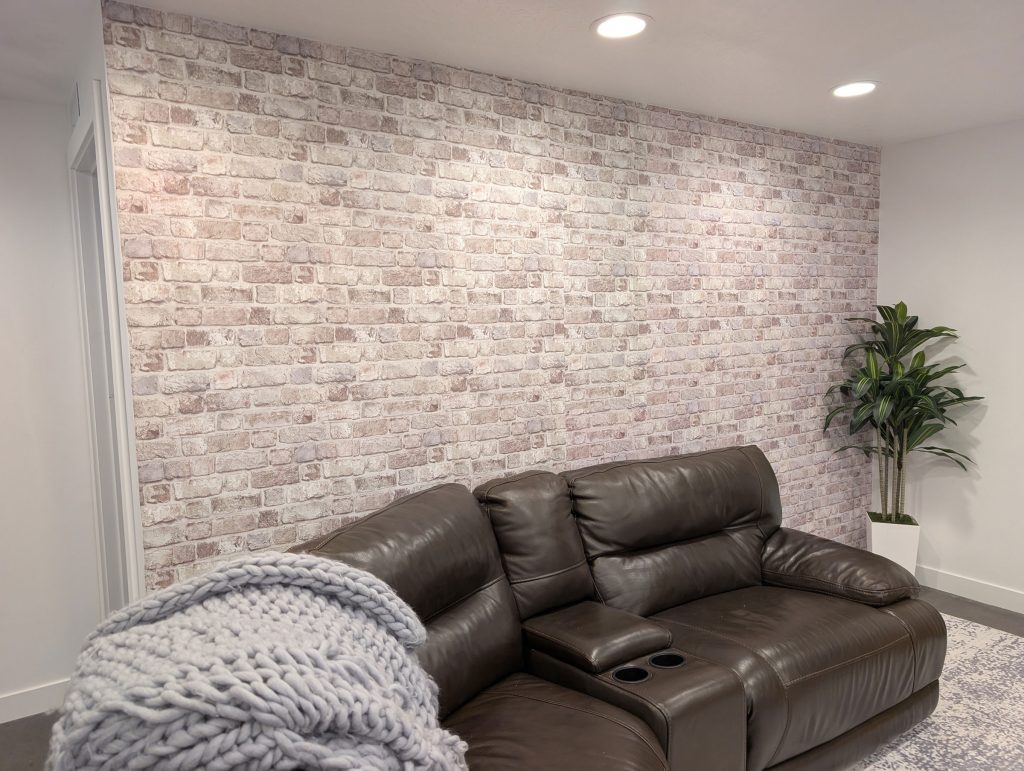
We recently finished our basement in our home. I decided to decorate with lots of movie posters. We also added a ping pong table and a big sectional with a TV. It’s a fun living space to hang out and relax. That’s why I thought a brick wall would add to the ambiance. And it turned out so good! Here’s how I did it.
Gather your supplies to make your faux brick wall
You don’t need very many supplies at all to start this project. Here’s everything that I needed:
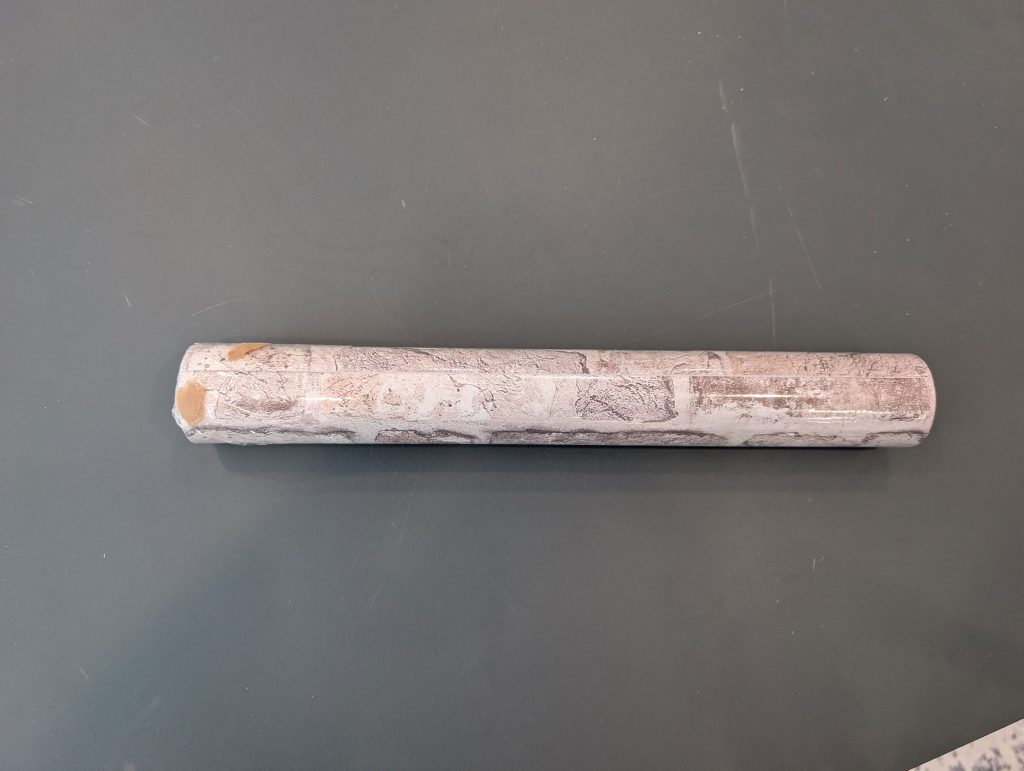
- Faux brick wallpaper (there are lots of different colors and styles to choose from)
- Paint scraper/putty knife
- Measuring tape
- Scissors
- Step ladder
- Utility knife
Prep your wall
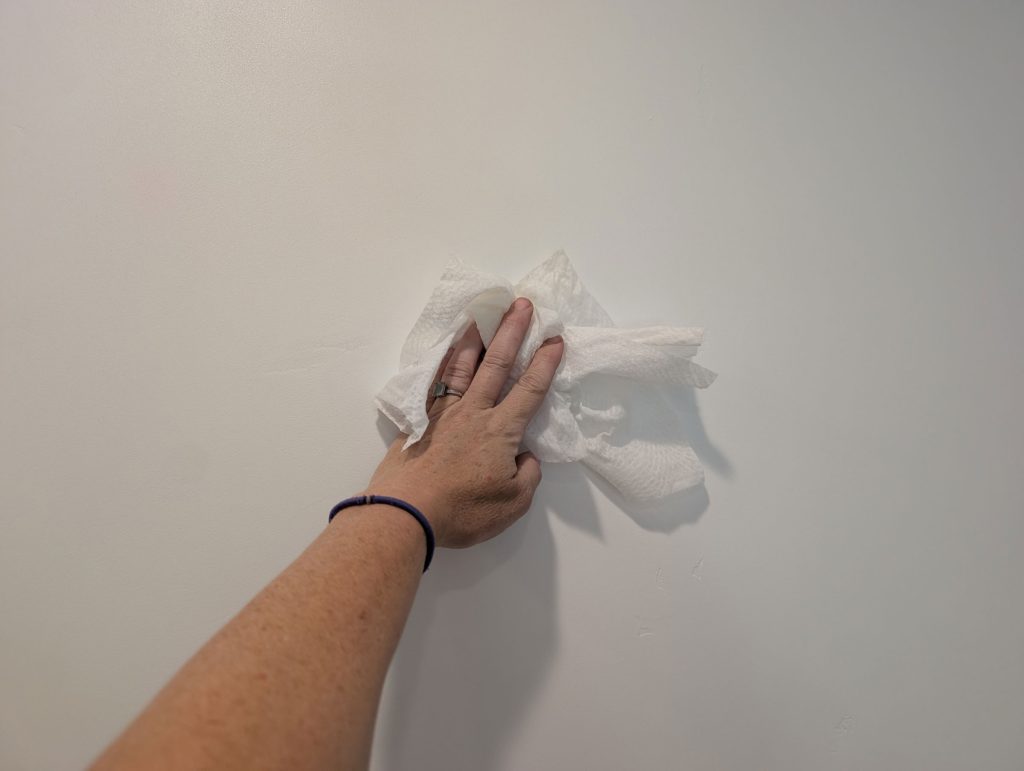
Move all furniture and anything else in front of the wall so you can have a clear working space. Wipe down the wall so it’s nice and clean and the wallpaper can adhere to it easily. Dust can accumulate in the corners. You’ll also want to patch any large holes or cracks in the drywall.
Attach your first strip of wallpaper
Measure and cut: Start in the very corner of the wall. Cut a strip of wallpaper that is the length of the wall from top to bottom. Leave a little excess at the bottom and the top for trimming.
Draw a plumb line: Then, use a pencil and a level to draw a straight vertical line down the entire length of the wall. Room corners are often crooked. This step is very important because if the first strip of wallpaper isn’t completely straight, it will throw off the rest of the strips.
Peel and stick: Peel about 12 inches of the wallpaper backing and stick it to the wall. Make sure it’s lined up with the plumb line. Use a paint scraper to smooth out the wall paper and then peel another 12 inches and repeat the process until the entire strip is adhered to the wall.
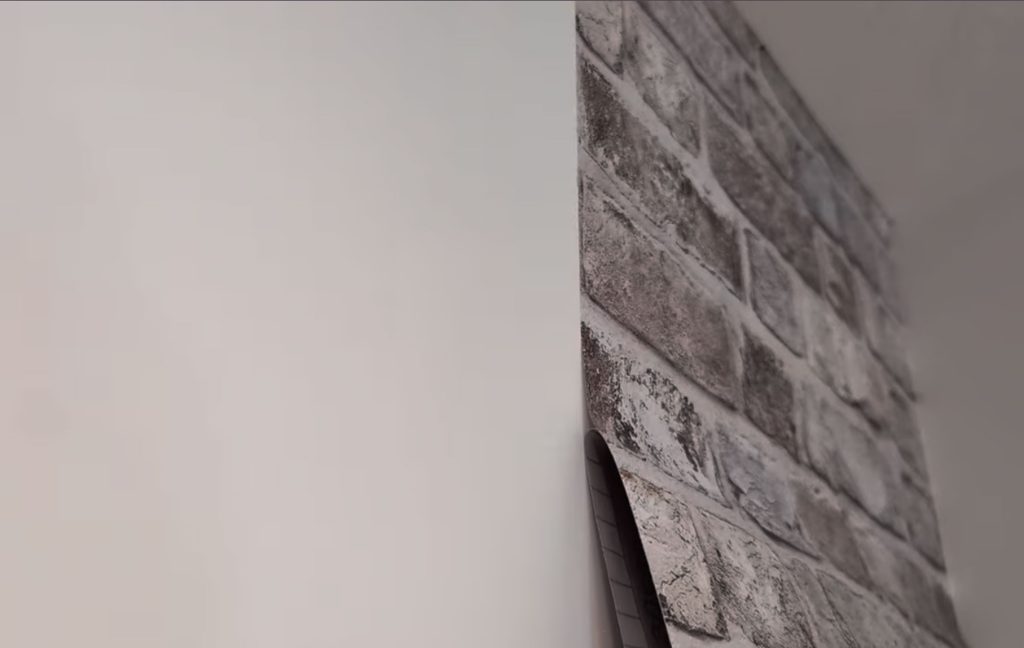
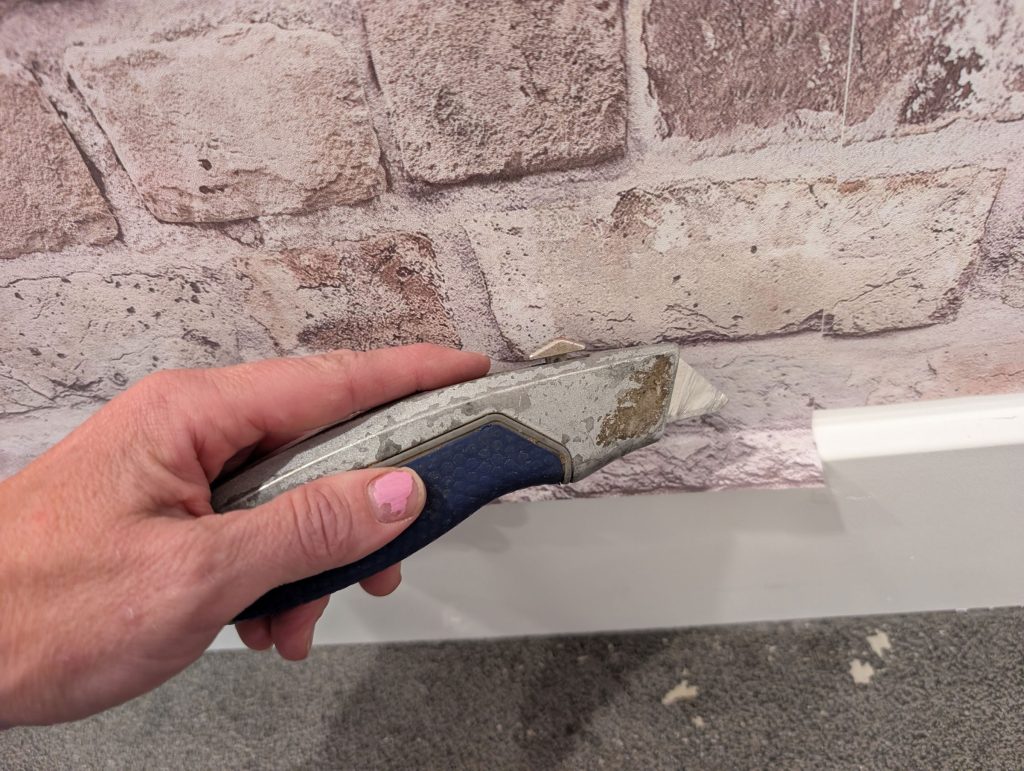
Trim top and bottom: Once the first strip is applied, use a utility knife to trim the top and bottom so it’s nice and clean.
Apply remaining strips
Match the pattern: As you cut each subsequent strip, make sure you match the brick pattern on the previous strip. If they don’t match up when you stick it to the wall, it’s not going to look like a real brick wall. There may be excess wallpaper on the top and the bottom to compensate for that.
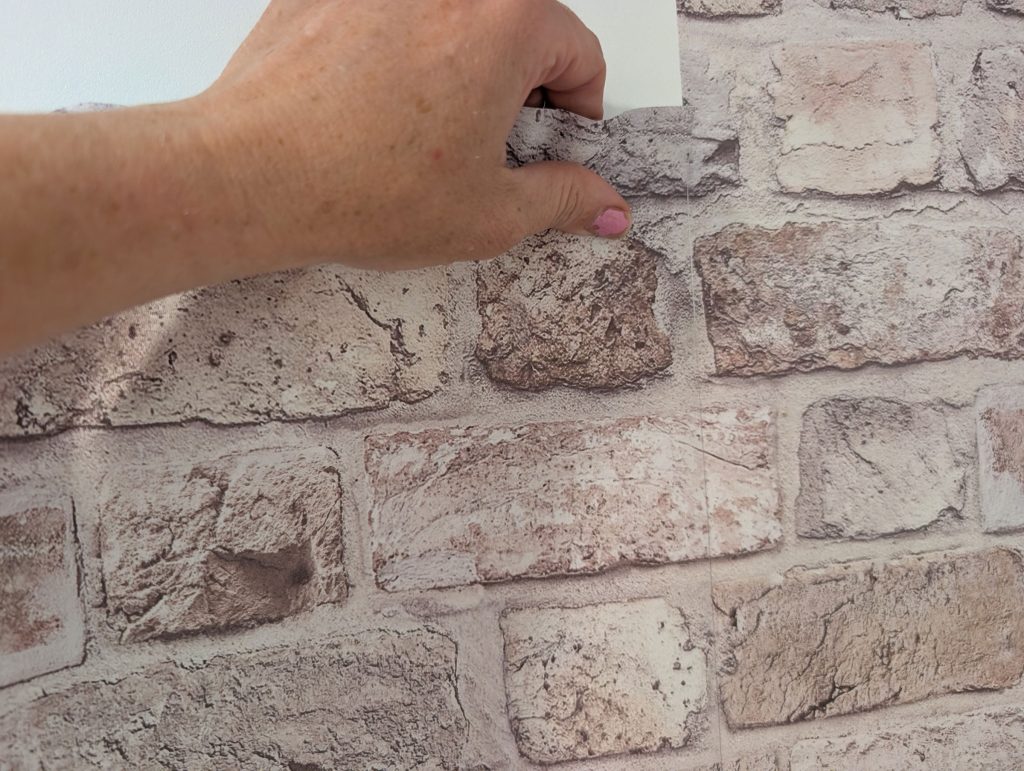
Do not overlap: The first strip should be perfectly straight, so make sure you align the next strip tightly against previous one. If you don’t, it won’t line up correctly and you’ll starting seeing gaps. Those are super obvious and look really bad.
Smooth as you go: Take your time and use the paint scraper to smooth out any bubbles as you go. It’s hard to fix a missed bubble once a strip has already been laid.
Continue the process: Keep applying strips until the desired area is completely wallpapered.
Tips and tricks to applying wallpaper
- Measure correctly. I didn’t quite measure correctly and I had to stop my project midway and order more wallpaper.
- Be precise: Applying wallpaper requires a perfectionist approach because if the strips aren’t perfectly aligned, you’ll get gaps.
- Don’t stick wallpaper to itself: If the wallpaper bends and the sticky ends touch each other, it’s super hard to unstick it.
- Patch mistakes: In a perfect world, your wallpaper will have no gaps. But mine had a few gaps where the white wall was exposed. Thankfully, the brick pattern is super forgiving and I just cut some small strips with the left over wallpaper and covered it up. No one can tell unless you’re close up.
- Outlets: Turn off the power, remove the faceplate and make a diagonal “X” cut from the center to the corners. Then fold the sides into the outlet hole and replace the cover.
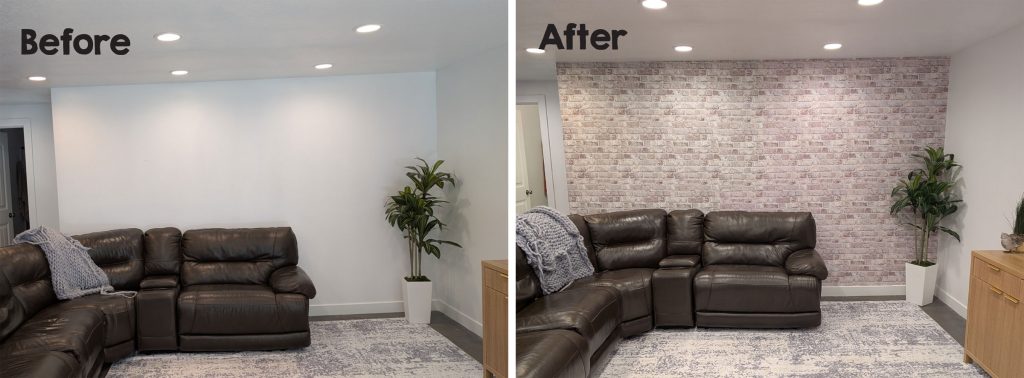
I hope this blog post helps you are you are planning your own DIY faux brick wall project. Here’s a little video I made showing how to do the entire process.
More from My Silly Squirts: How to build a floating loft bed in three easy steps