DIY Cheesecloth ghost and pumpkin in three easy steps!
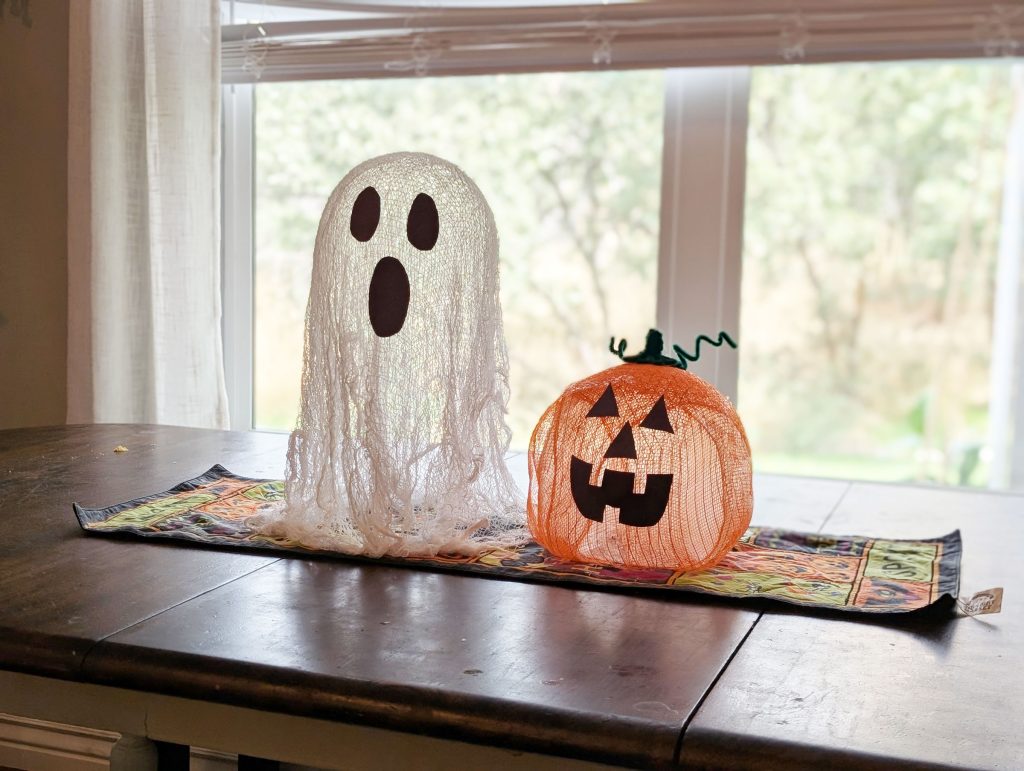
If it’s Halloween time, that means it’s craft time. And this cheesecloth ghost and pumpkin are so adorable and super easy. Here’s how to make your very own in a just a few steps. Check it out!
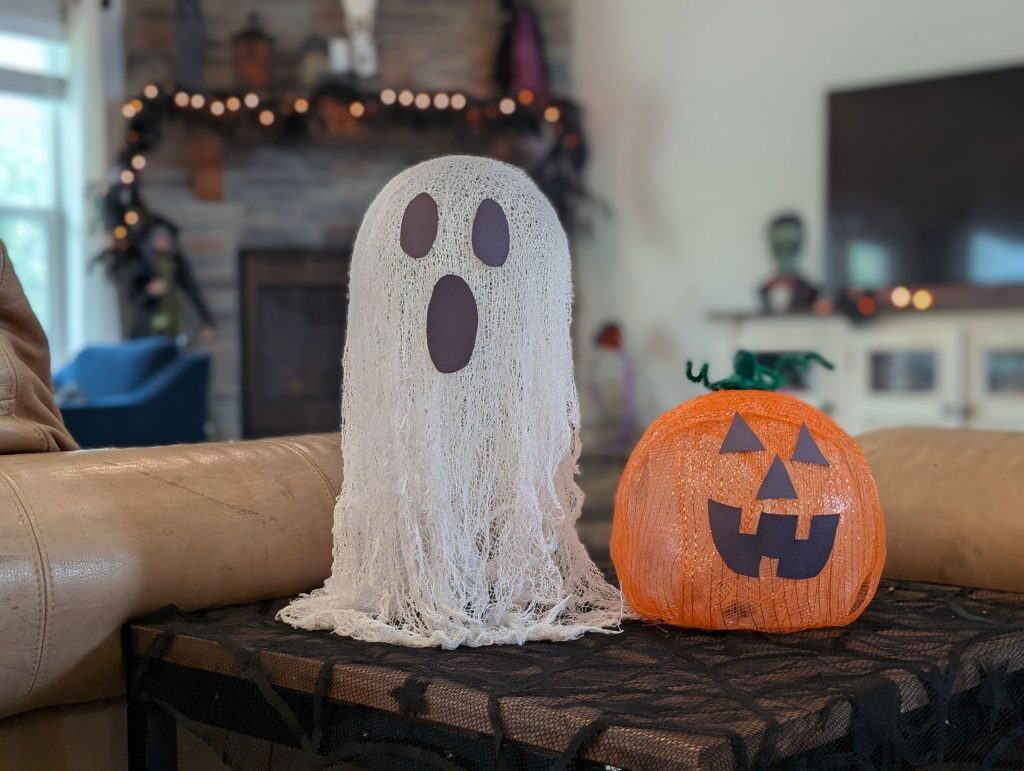
Halloween is my favorite holiday, so I always love to do a spooky craft in October. Making this cheesecloth ghost and pumpkin was so much fun and super easy. Plus, it’s an adorable decoration that will fit in any nook of your home. Here’s how you can make this craft right now in three easy steps.
Gather your DIY cheesecloth ghost and pumpkin supplies
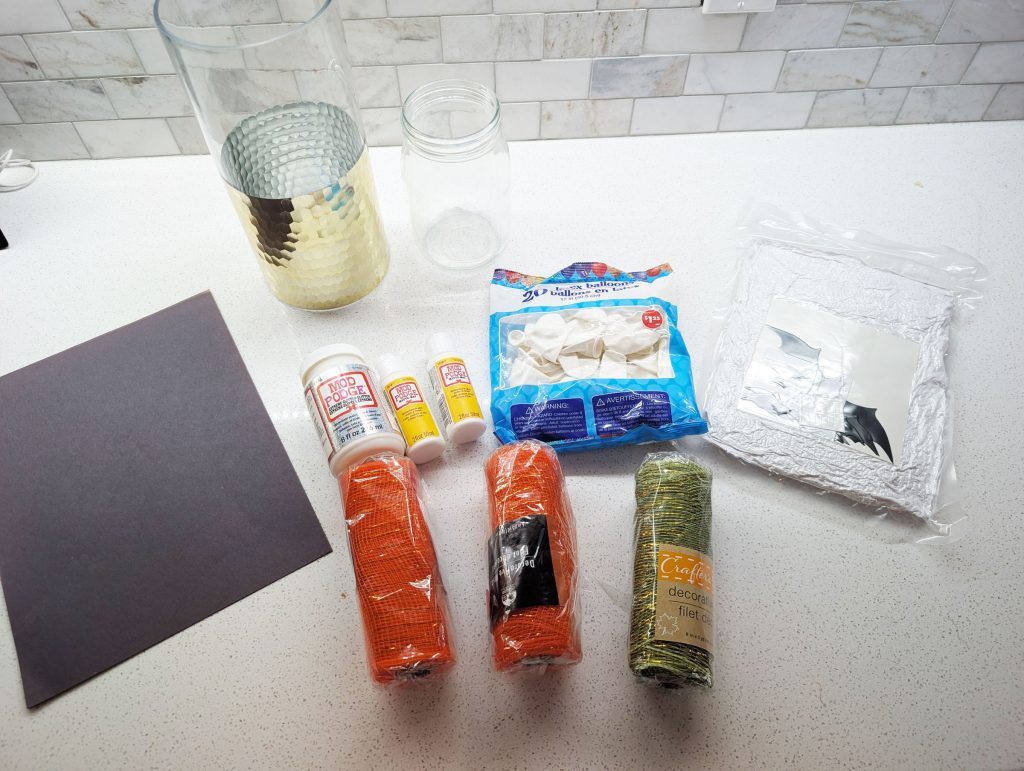
The nice thing about this craft is that it’s super inexpensive. With just a few supplies that you might already have at home, you can get started. Here’s everything you’ll need:
- White creepy cloth (for the ghost)
- Orange creepy cloth (for the pumpkin)
- Balloons
- Modge Podge (16 oz or bigger)
- Felt black sticker sheets (or black construction paper)
- Hot glue gun
- Scissors
- Jar or vase
They didn’t have any orange creepy cloth at the store, so I used an orange decorative mesh. However, I would recommend using creepy cloth because it molds much easier.
Step #1: Prep your cheesecloth
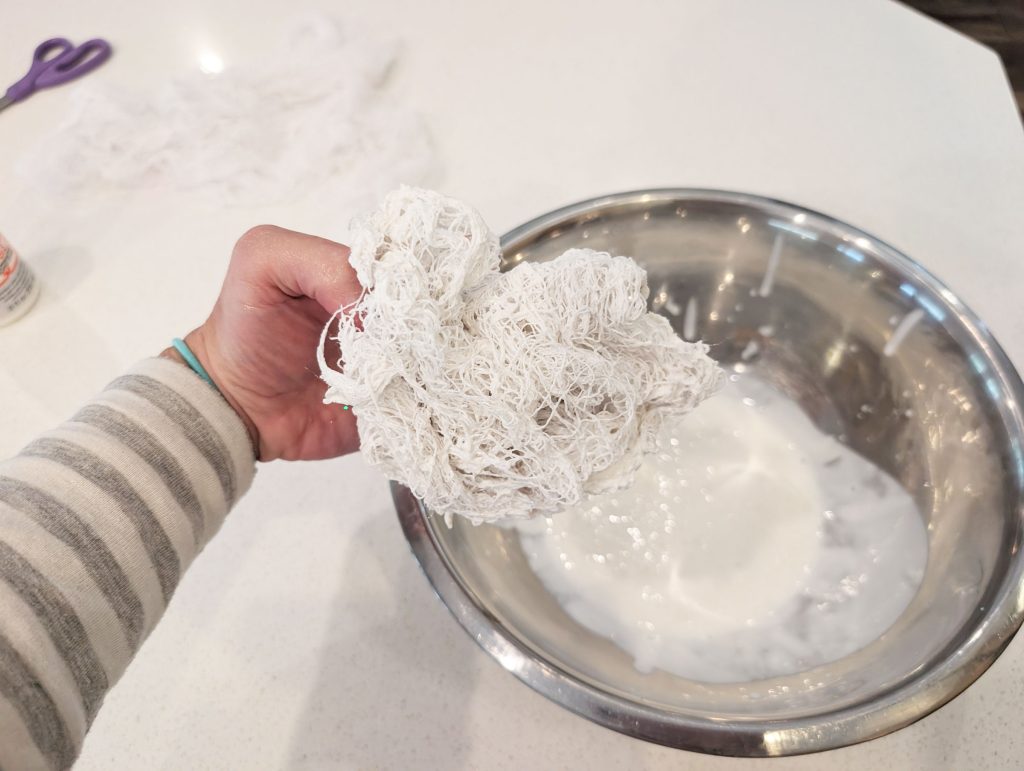
Cut your creepy cloth into about 36-inch lengths. You don’t want it too long or too short. Two lengths of creepy cloth should make one ghost. Then, pour a big container of Modge Podge into a bowl. The cheesecloth soaks up a lot of the glue, so, if you’re doing multiple ghosts, you’ll probably want at least 32 ounces of Modge Podge or more.
Add the cheese cloth to the bowl and soak it completely in the glue. Then, ring out any excess glue. You may want to wear rubber gloves because your hands get pretty sticky.
Step #2: Form your ghost and pumpkin
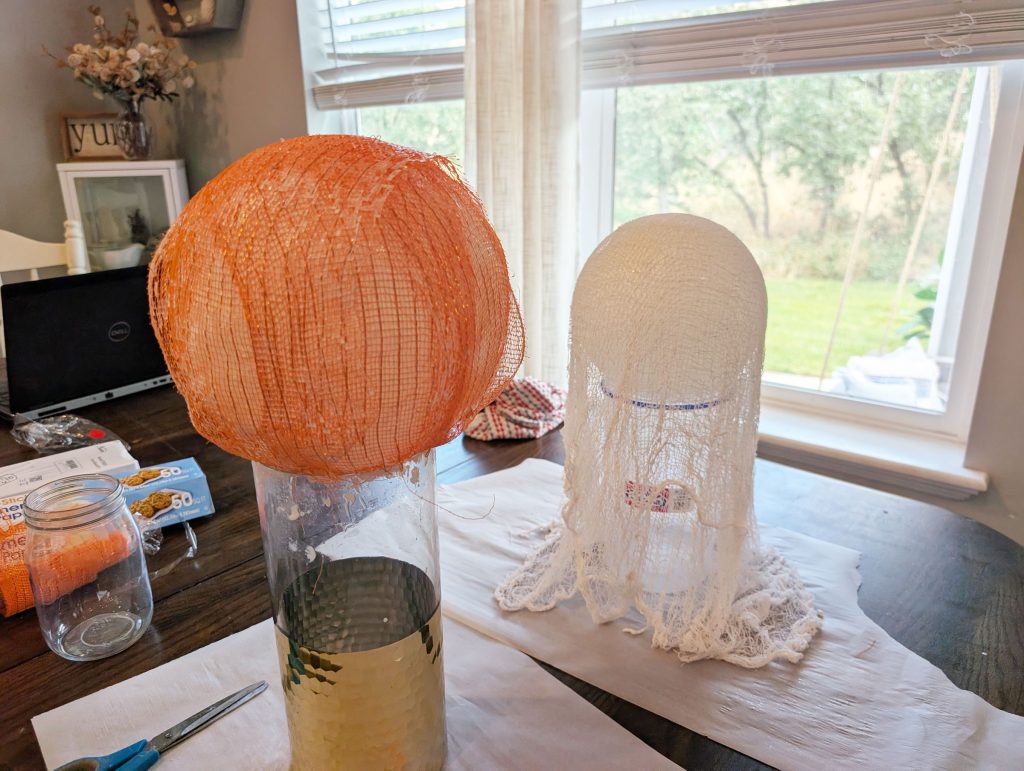
Next, blow up a standard balloon. If you want a smaller ghost or pumpkin, don’t blow it up as much. I just blew my balloon up to a medium size and it was perfect. Place the balloon in a vase or jar. Then, drape the wet creep cloth covered in glue over the balloon.
For the ghost, I wanted to make sure that the cloth touched the table so that it could support itself once it was dry. As for the pumpkin, I didn’t need as long of strips and I just tucked the ends under so it formed a ball. Let the pumpkin and ghost sit and dry for at least 24 hours. You want it to be super dry and stiff.
Step #3: Make your faces
Now for the fun part. Once they are completely dry, use a pin and pop the balloon inside the pumpkin and ghost. It was satisfying watching the air spew out and it made a crinkly now as it deflated.
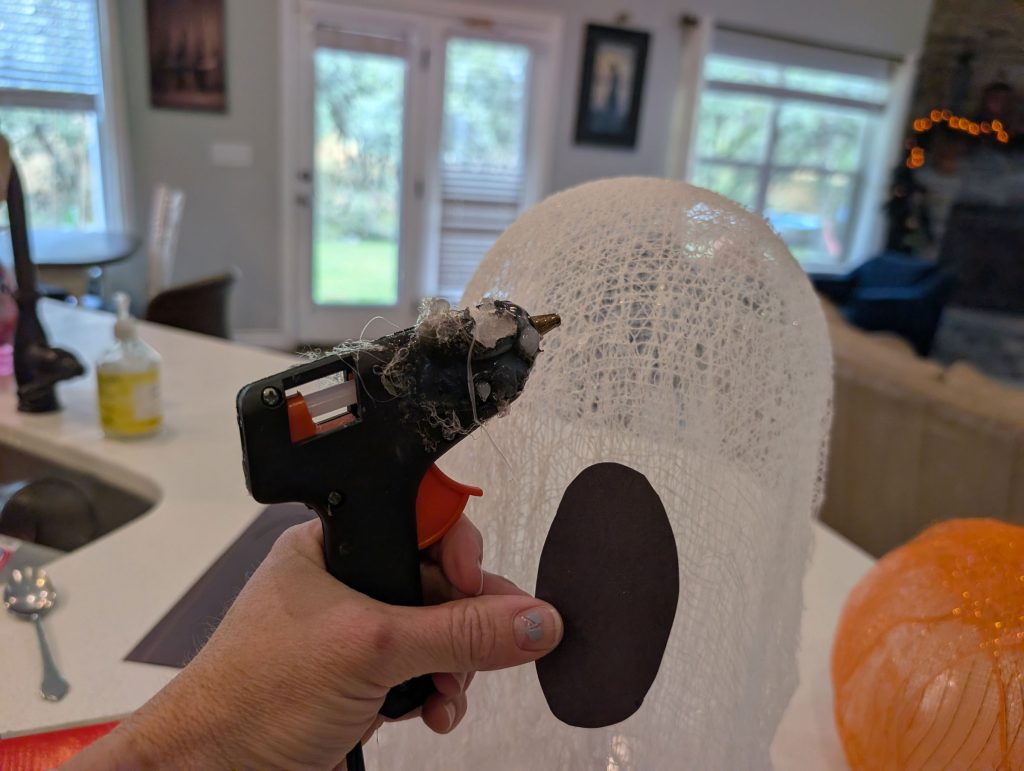
Then, using the black felt sticker sheets, cut out the faces for the ghost and the pumpkin. I just kind of eye-balled it. If you don’t have sticker sheets, you can also just cut them out from black construction paper and hot glue them to the ghost and pumpkin.
Enjoy your new Halloween decoration
Now you’re done! Wasn’t that super easy? Plus, I was excited about how adorable this ghost and pumpkin are. They look cute on the mantle, side table, kitchen table or front porch. This is the perfect Halloween craft to make during a classroom party, girls craft night or just for fun at home with your kids.
Click on the video below to watch how I made this craft step-by-step. Thanks for visiting my blog! Happy Halloween!
More from My Silly Squirts: You’ve Been Boo’ed Halloween printable