Five tips to DIY landscape rocks in your front yard
Landscape rocks are a very popular alternative to grass. They can elevate the look and feel of your home and it saves so much money on watering. So, if you’re looking to do the same on your home, here’s five tips that we learned doing our DIY landscape rocks. Check it out!
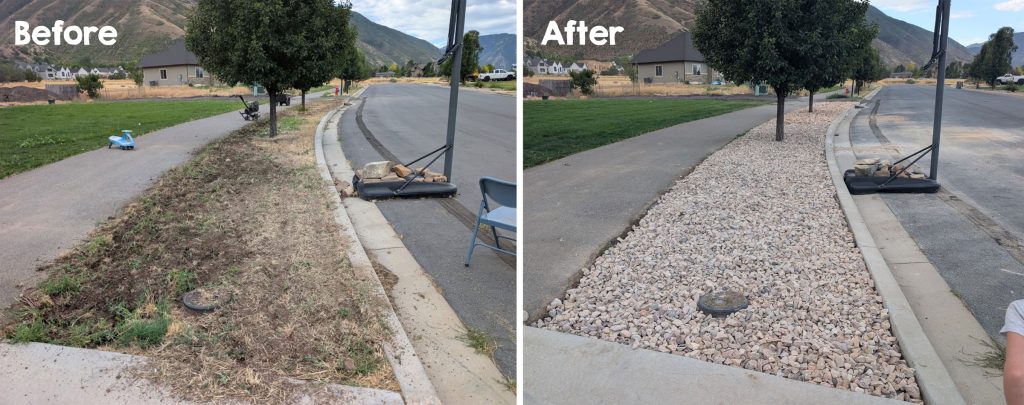
We decided to lay 1600 square feet of landscape rocks in our front yard along the park strip. Although, installing landscape rocks might seem like a pretty easy job, it’s actually a lot more work than you might think. After we got a couple bids from companies for about $5,000, we decided to do the work ourselves. We were super happy with the end result but here’s a few things we learned along the way.
Tip #1: Apply for a water-wise landscape rebate
There are a lot of incentive programs that will give you a rebate per square foot for your drought-resistant landscaping. But make sure you apply for the rebate BEFORE you do any work. They usually require someone to come out and inspect your property before you get approved. This might just save you thousands. Unfortunately, we didn’t realize we could get a rebate until we were about half way finished with our project.
Tip #2: Make sure the soil is prepped correctly
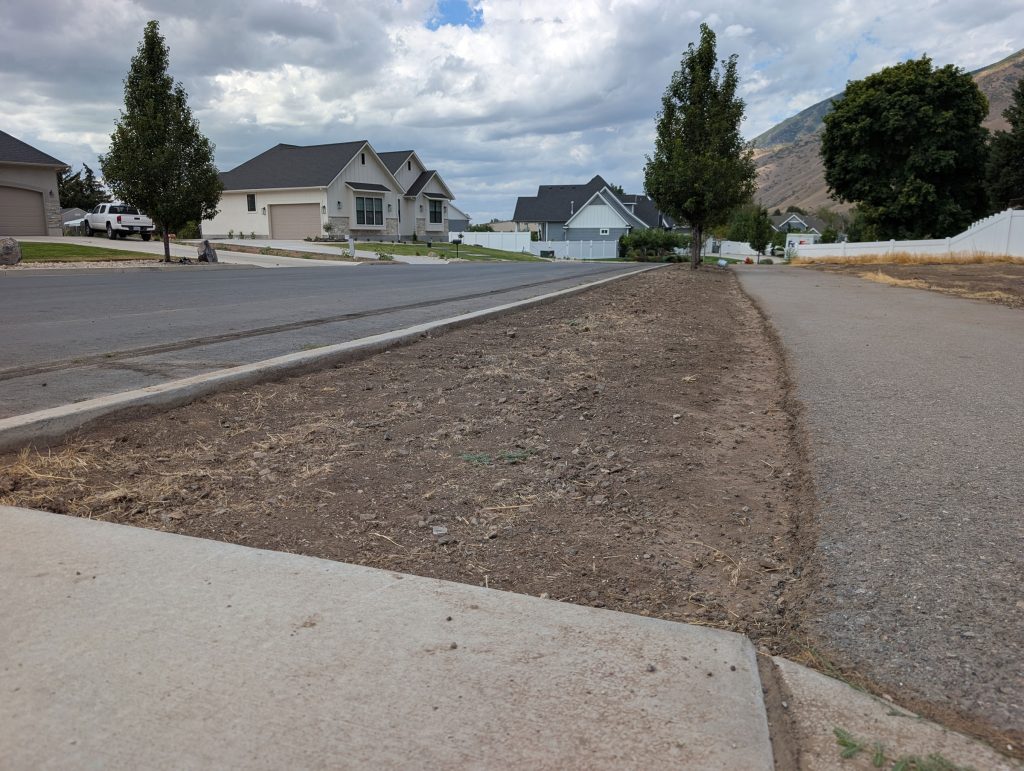
Technically, you are supposed to level the soil so that it’s three inches below the sidewalk. That way you’ll have enough rocks to completely cover the soil and so that they don’t spill out onto the sidewalk. Our soil was raised and had a lot of weeds, so we got out our roto tiller and started shoveling. It was sooo much work. Eventually, we asked our neighbor if we could borrow his tractor. This was definitely the most time-intensive and difficult part of the entire job.
Tip #3: Use billboard sign as weed barrier
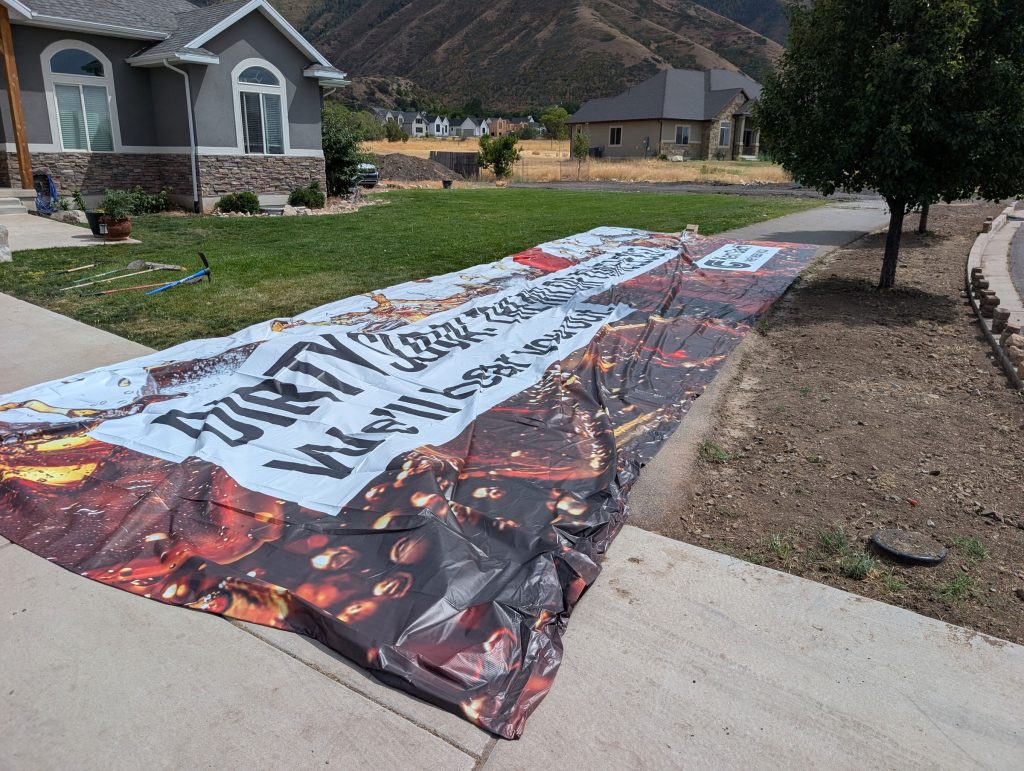
Don’t buy the weed barrier that you find at the hardware store. It eventually breaks down and tears within a year or two and doesn’t work as a long-term solution. My neighbor recommended buying an old billboard sign from a billboard company near our home. We got four billboard signs that we 14 feet x 48 feet for only $30 each! The billboard signs are made of thick plastic that completely block out the weeds and they last for years and years. My neighbor has had her billboard sign until her landscape rocks for the last 10 years and is still going strong.
Tip #4: Price out rocks from multiple companies
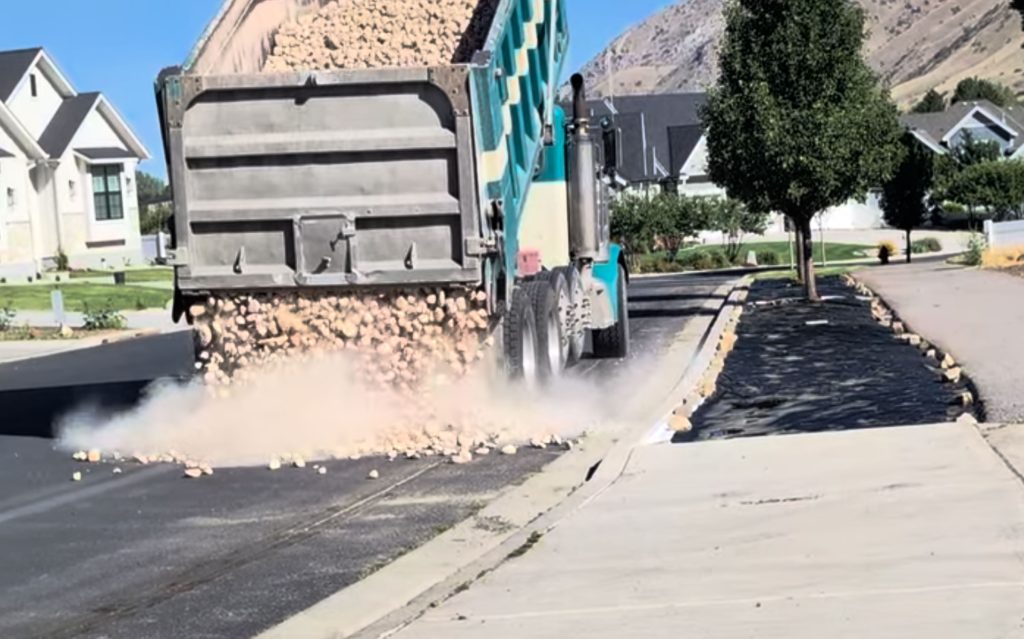
I called four different companies to get prices on rocks. I was surprised by the huge difference on pricing. The first company quoted me at $125 per square foot and another company (which is the one we used) quoted me at $42 per square foot. We literally saved hundreds of dollars just by asking around. We also paid a fee to have the rocks delivered, which I think was totally worth it.
Tip #5: Buy the right tools
We used a lot of different tools to complete do these DIY landscape rocks. Here’s what we used:
- Shovel: leveling and prepping the soil and spreading rocks
- Wheelbarrow: hauling rocks and moving dirt
- Landscape stakes: pin down the weed barrier
- Soil leveling rake: leveling and prepping soil
- Garden hoe: this is perfect for spreading rocks
I hope all of these tips will help you as you are planning your own DIY landscape rocks in your yard. In the end, we spent about $1200 in rocks and delivery. So we saved about $3,800 doing the work ourselves. Although it was a lot of work, I think it was worth it.
Here’s a little video I made showing the entire process:
More from My Silly Squirts: Five tips to transform your backyard patio