How to build a floating loft bed in three easy steps
If you want to elevate the cool factor in your kid’s room and provide more space at the same time, try building a floating loft bed. This is a project easy enough for the novice builder and your kids will LOVE it. Here’s how we did it in three steps.
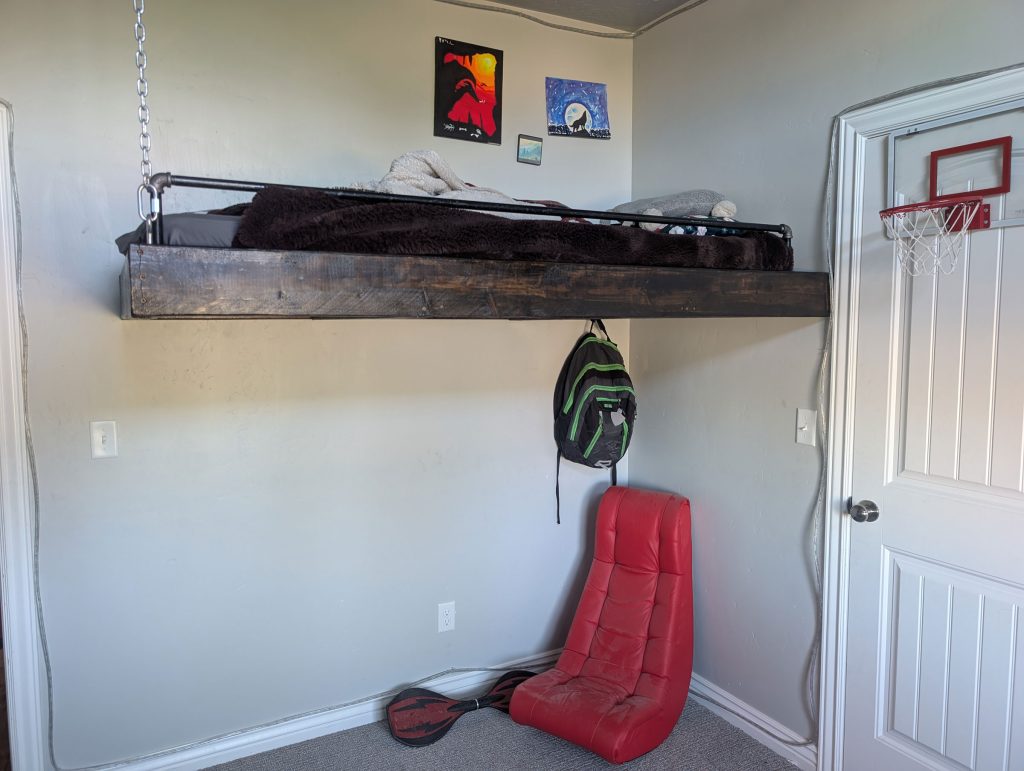
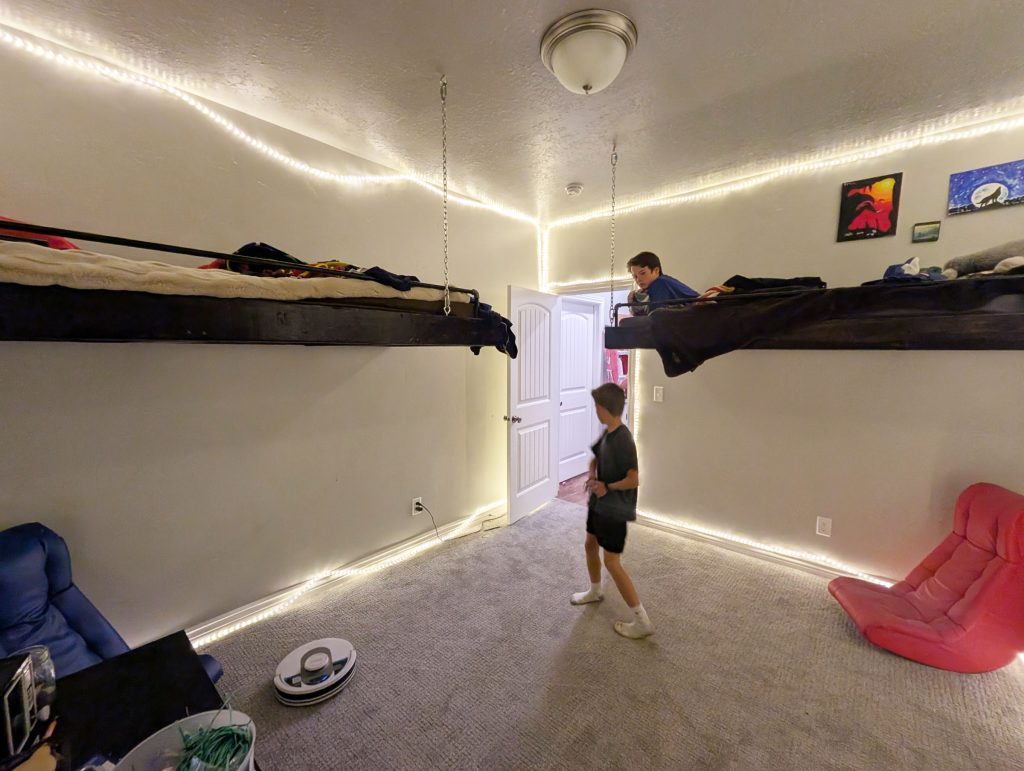
My sister-in-law thought of the original design for these floating loft beds and so we just copied her. These floating beds are awesome because since they are suspended above the ground, my kids have a lot more space in their bedroom. Check it out!
Gather your floating bed supplies
Before you start making your bed, you need to buy the right supplies. You also want to make sure that you have the person at the hardware store cut all of the wood for you. That will make this project way easier. All of these supplies cost $247 for two beds. Here’s a list of supplies that you’ll need to make one loft bed:
Wood (for the frame)
- 2×4 piece of wood (8 feet long): cut two pieces that are 36 3/4″ long each
- Three 2 x 6 pieces of wood (8 feet long): cut two pieces that are 78″ long and two pieces that are 38 1/4″ long
- One plywood sheet: cut to 74 3/4″ x 38″
- Three 3/4″ x 1 1/2″ pieces of wood: cut two pieces that are 75″ and two pieces that are 36 3/4″
Piping (for the guard rail)
- One 10 foot 1/2 inch pipe: Cut one piece 68″ and two pieces 8″
- Two 1/2″ black iron 90 degree pipe elbows
Other supplies
- Dark walnut wood stain
- Fast-drying polyurethane (warm satin)
- Wood screws 10×3″ (quantity 70)
- Fine thread drywall screws 6×1 5/8″ (quantity 178)
- White paint & paint brush
- Chain 33 1/2″
- Two Quick link chain 5/16″ (1760 lb capacity)
- Two screw eye hooks (700lb capacity)

Here’s the design that you’ll want to follow as you’re gathering and purchasing your supplies. You can also show this to the store clerk to help him visualize what you’re trying to build.
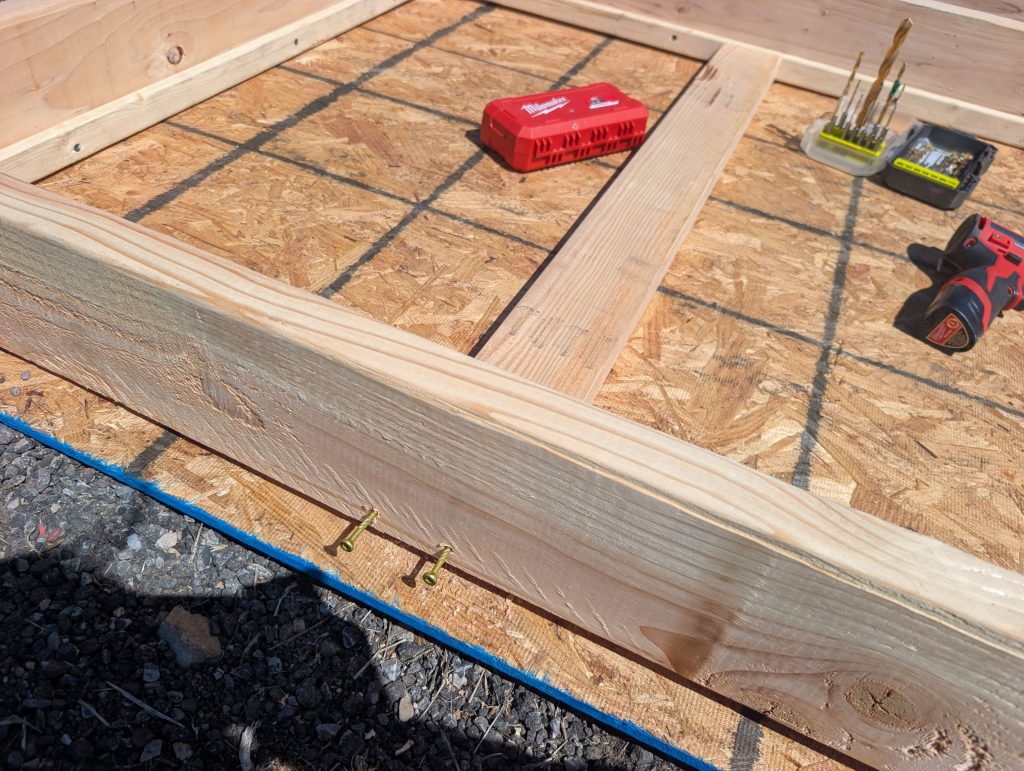
Step #1: Assemble the frame of the bed
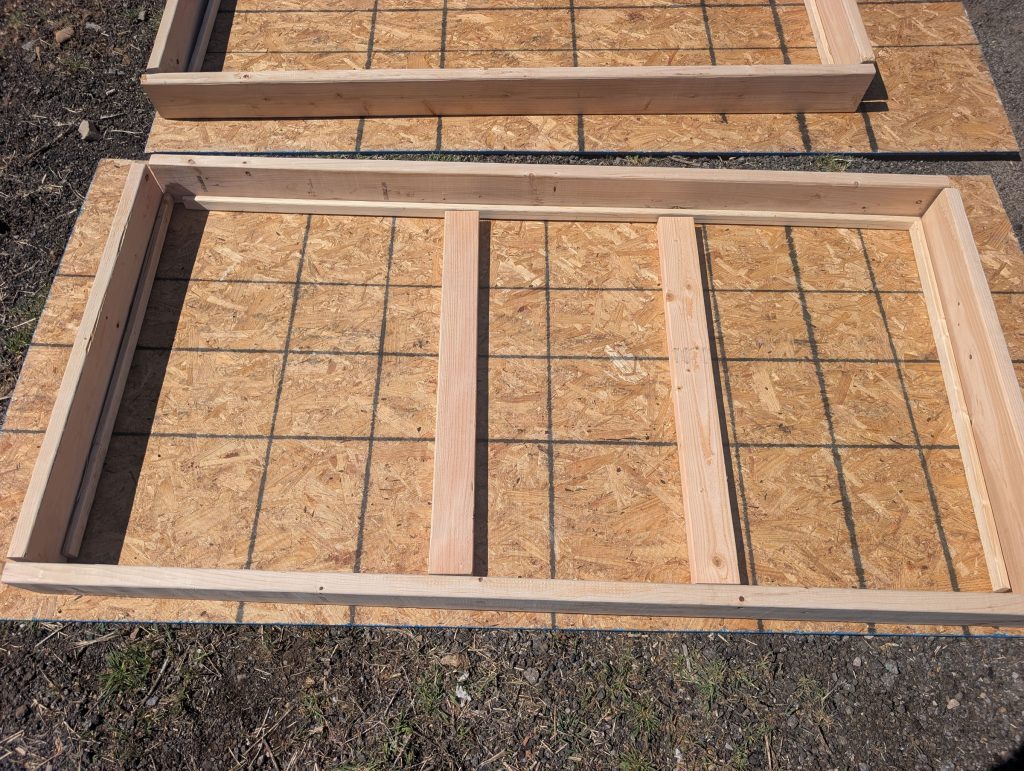
Place all of the wood on the ground and assemble it according to the picture above. Make sure you assemble every exactly as pictured. The 2×6 pieces of wood are on the outside, and the 3/4″ x 1 1/2″ thinner pieces of wood go on the inside. The thinner pieces of wood are what the mattress will be sitting on once it’s complete. The two 2×4 pieces go on the inside.
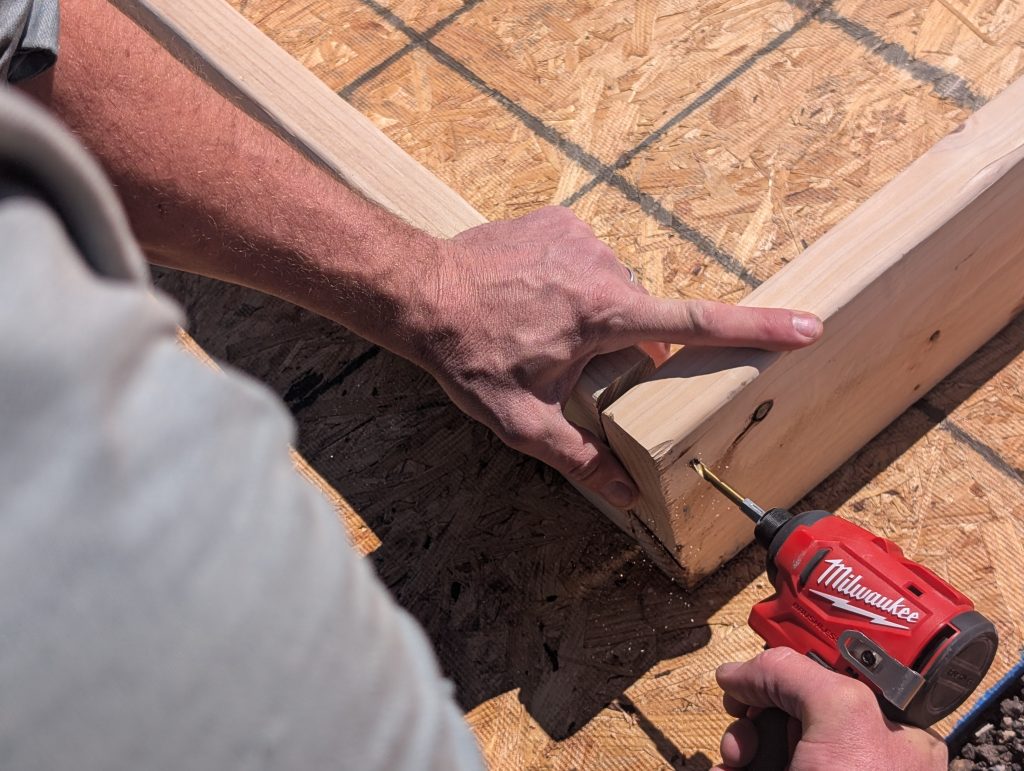
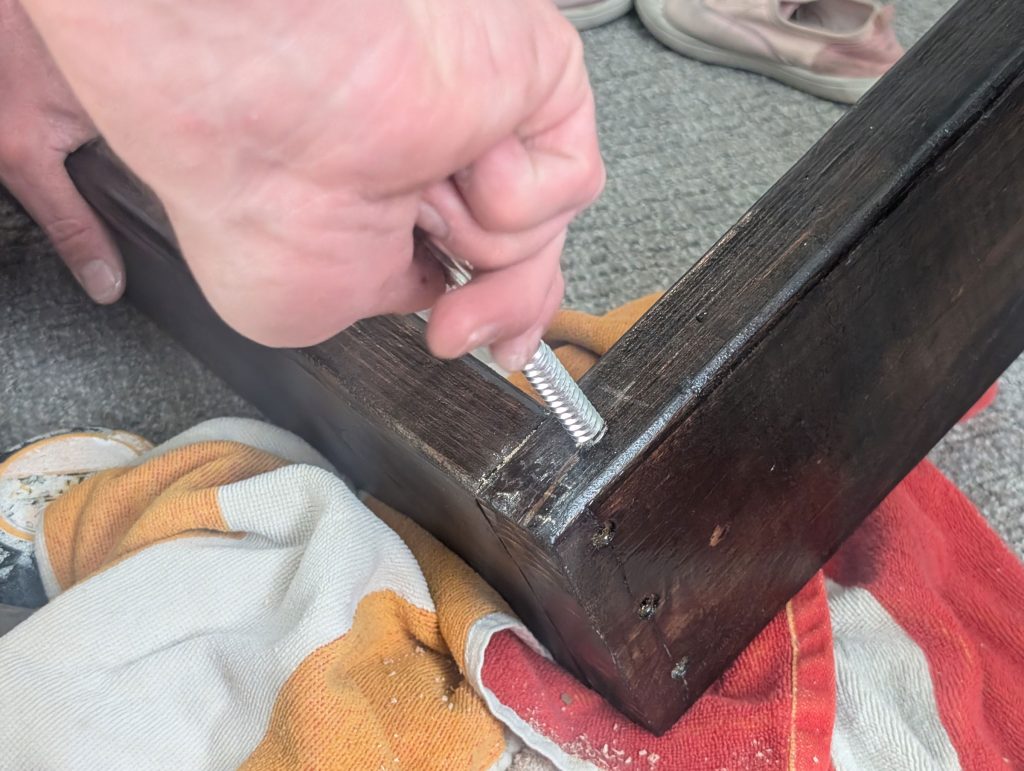
Once everything is assemble on the ground, then you can start screwing everything together. Begin by screwing the 2x6s together on the corners using the wood screws. My husband drilled pilot holes before screwing in the screws to avoid splitting the wood.
Once the outer frame is screwed together, you can screw the inner frame to the 2x6s. We used drywall screws to do this. You don’t have to drill pilot holes for the inner frame if you don’t want. We placed the screws about 12 inches apart on the inner frame.
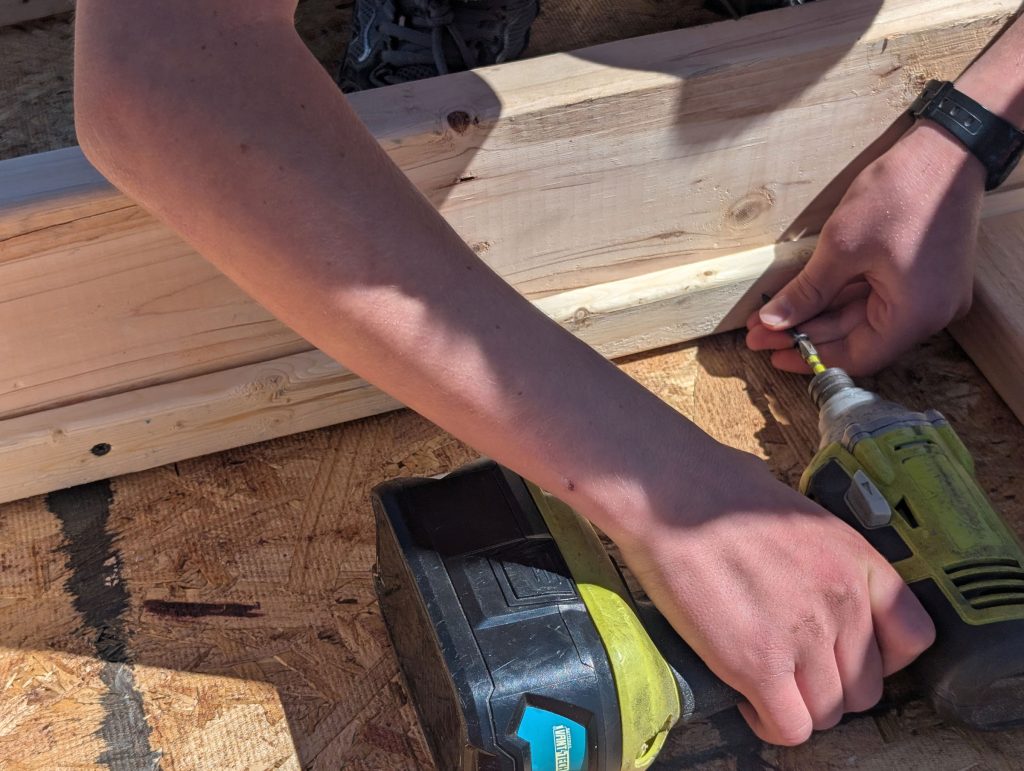
As a last step to assembling the bed frame, you’ll want to screw together the two 2x4s to the rest of the frame with wood screws. We drilled pilot holes for these as well.
Step #2: Stain the loft bed frame
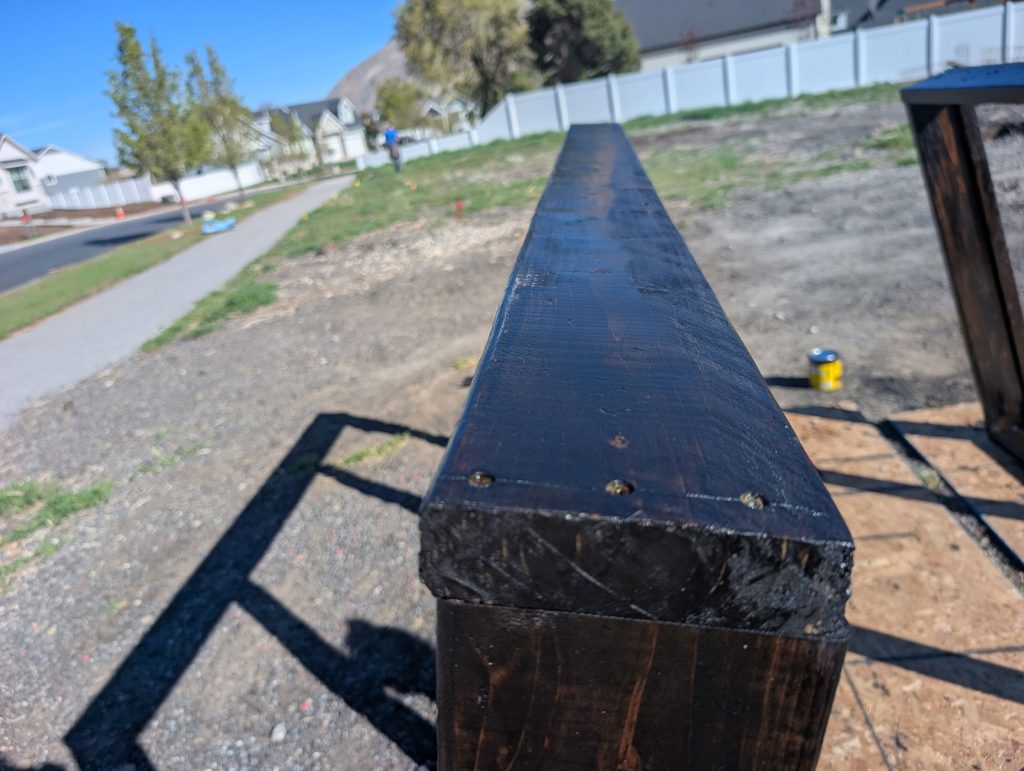
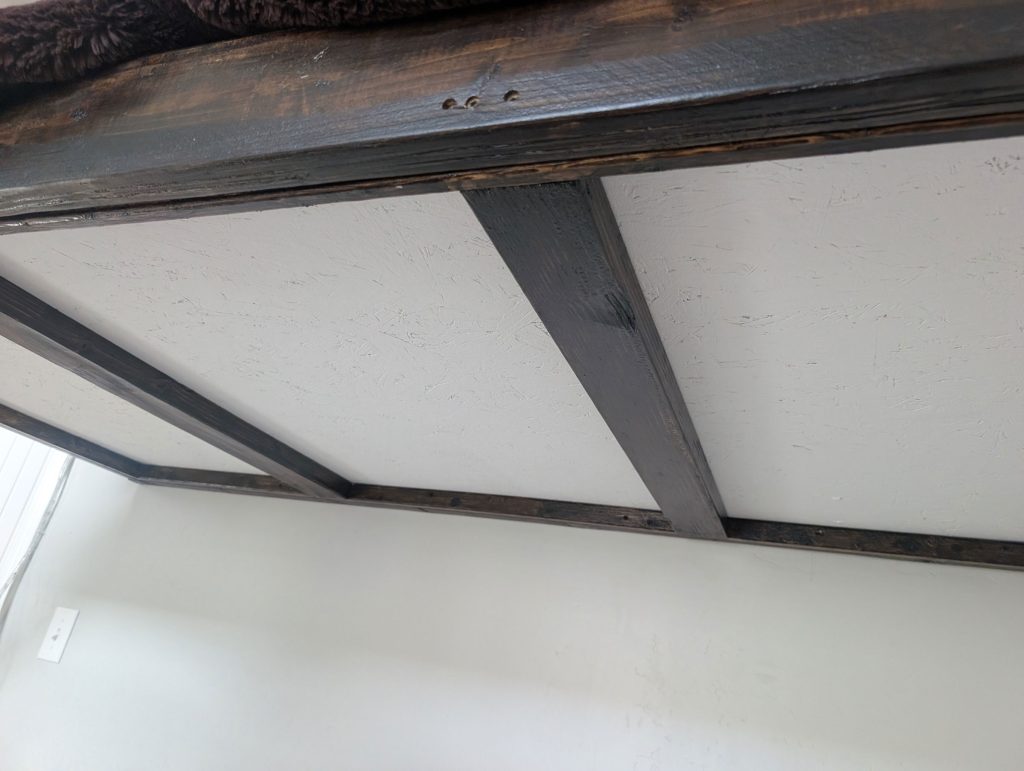
Place the frame upright on its side and stain the loft frame with wood stain. This will give your bed frame a nice finished look. About 5-15 minutes after you apply the stain with a paint brush, wipe any excess stain with a cloth. We didn’t stain the side of the frame that would be flush against the wall, since you won’t see that portion anyway once it’s hung.
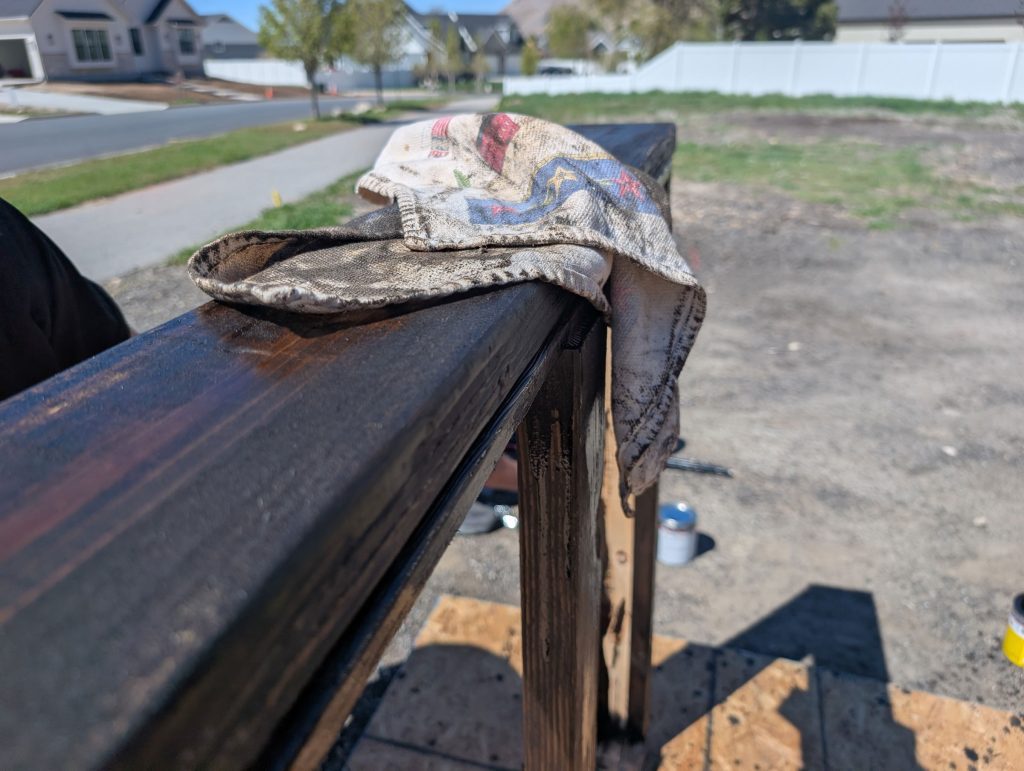
It only takes about an hour for the stain to dry. Once it’s dry, you can apply a layer of polyurethane to add a nice finished, glossy look. The polyurethane takes about 2-4 hours to dry. We just left our frame over night to dry. It looked great.
Step #3: Hang your loft bed
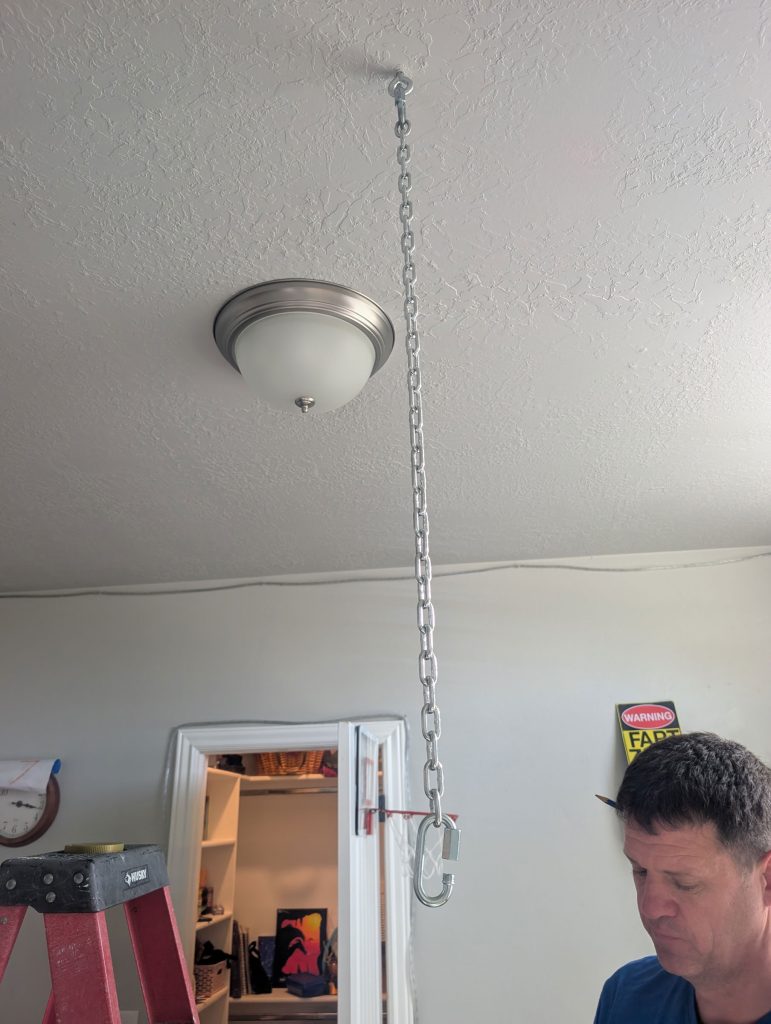
Now that the frame is assembled, it’s time to hang it! Mark on the wall where you want the bed frame to hang. You will want to use a stud finder to make sure you drill the screws into studs. Then, screw the screw eye hook into the ceiling where the corner of the bed frame will hang. My husband used an Allen wrench as an attachment on his drill to screw the eye hook into the wall. Otherwise it’s impossible to do it by hand.
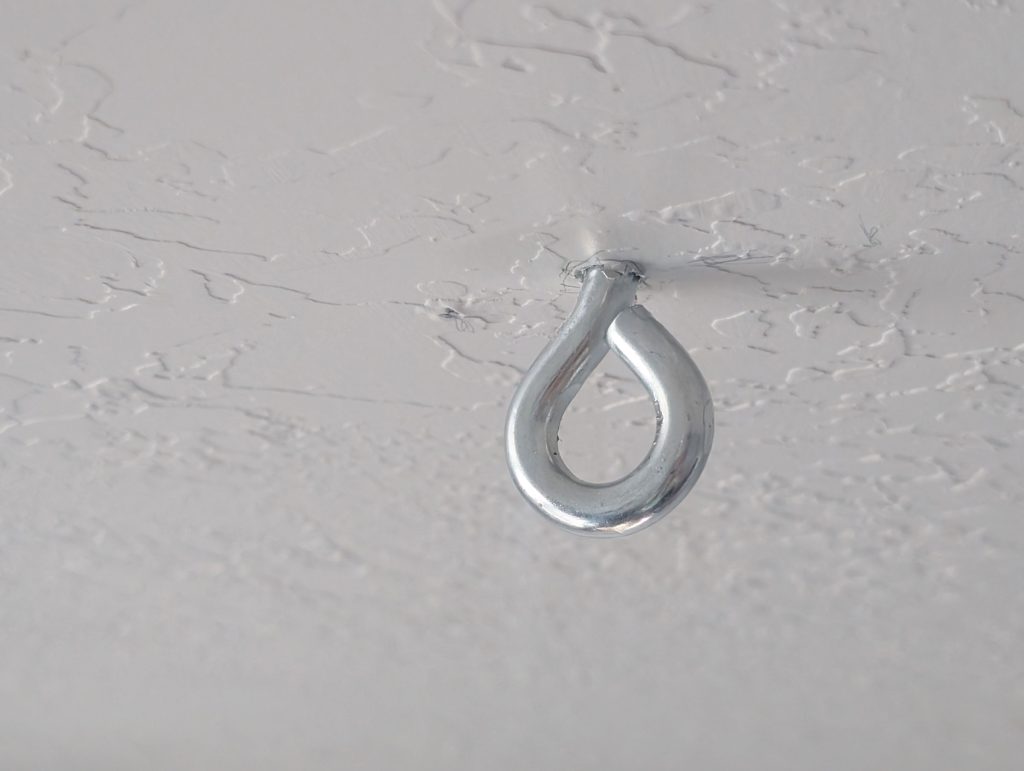
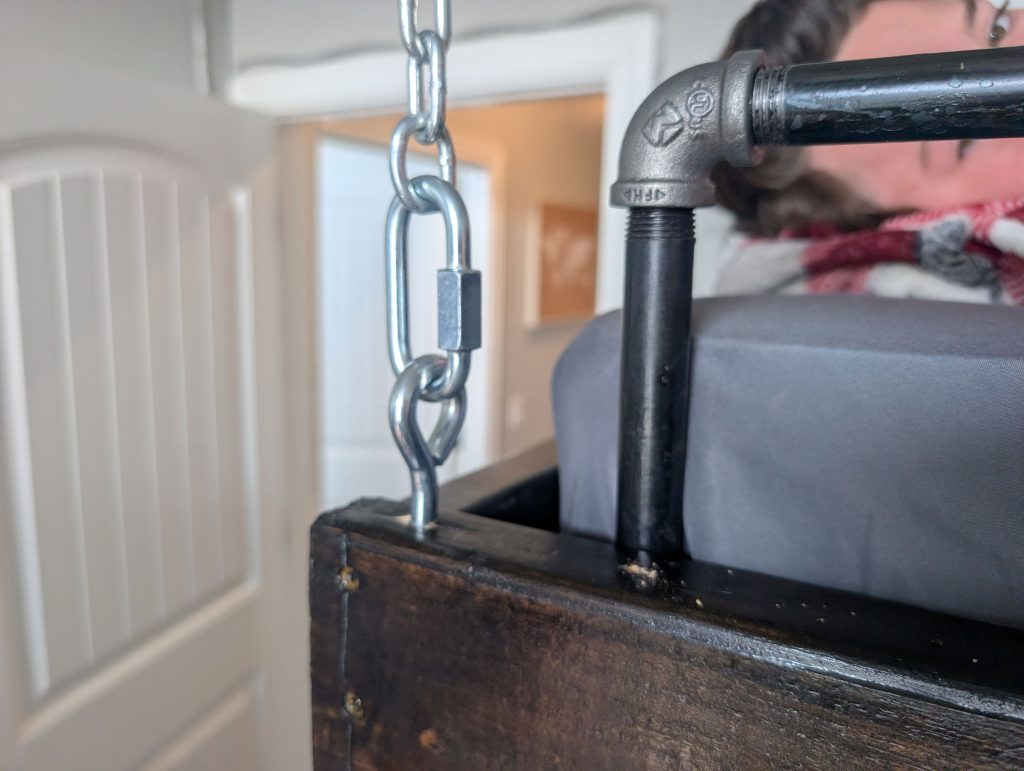
Attach one quick link chain to the hook, then the chain and then the other quick link chain as pictured below.
Next, screw the other screw eye hook into the corner of the bed frame. Make sure you measure exactly where to place the hook. It will depend on where the stud is placed on the ceiling.
Connect the screw eye hook on the bed frame to the chain hanging from the ceiling. You’ll probably need a couple of people to help you hold the bed frame while you do this. Then, attach the rest of the bed frame to the wall using wood screws. Make sure you are screwing directly into studs. My husband screws about four different wood screws into the wall to make sure it was nice and secure.
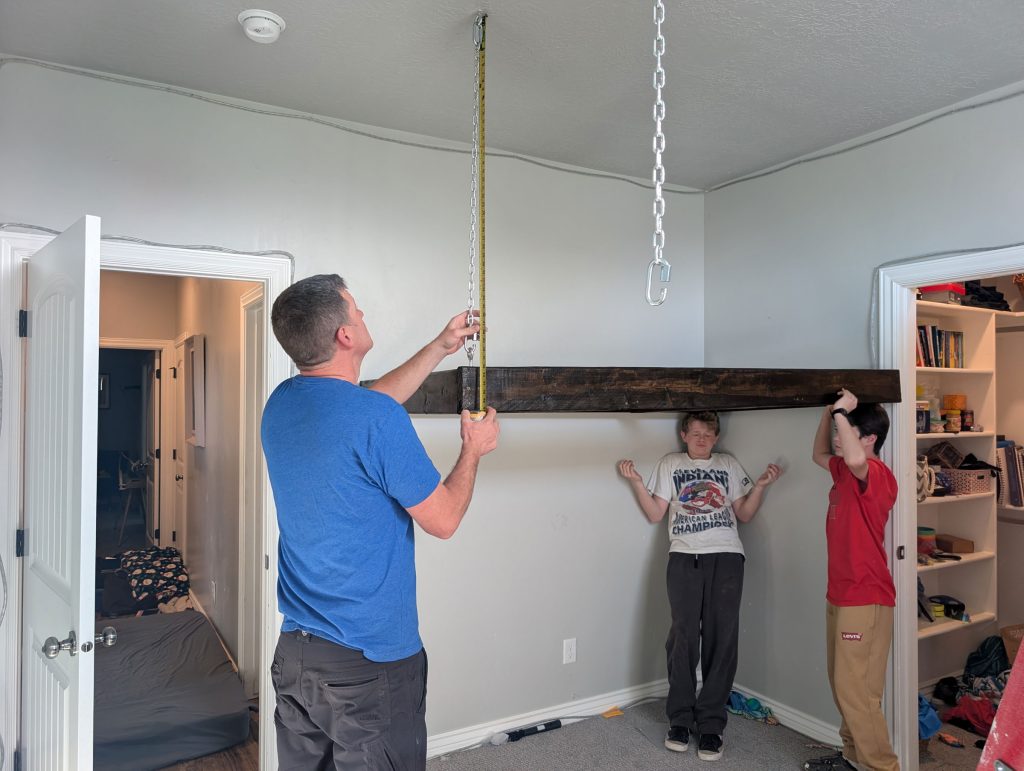
We also used a leveler to make sure the bed frame was completely level. This part took a little bit of adjusting but it worked out great.
Once the frame is hung, all you have to do is place the plywood into the frame and then the mattress. We painted the side of the plywood that would be showing underneath so it looked a little bit more finished.
The last step is to add the guard rail. Attach the pipe elbows to the three pieces of pipe and insert it next to the mattress on the side. The guy at Lowe’s cut the pipe for us and threaded it, which was super convenient. And you’re done!
Here’s a video that shows how we made this fun loft bed for our kids.
I hope you like making your floating loft bed as much as we did. Let us know how it goes in the comments below. Enjoy!
My Silly Squirts: How to make a potato gun in three easy steps


