How to make yummy homemade suckers
Homemade suckers are so much fun! You can make them all year round and my kids LOVE it. They are a lot easier than you think too. Take a look.

From start to finish, the entire process took me about 45 minutes. And although, you’ll want to be careful with kids around the hot ingredients, they can actually help quite a bit.

Gather homemade suckers supplies
There’s a lot of different type of sucker molds that you can buy. It’s a little bit of an investment up front but you’ll be able to use these molds for years to come. Here’s what you’ll need:
- Sucker molds (try to buy silicon molds, much easier to work with)
- Sucker sticks, bags & twist ties
- Flavoring
- Wooden spatula
- Cookie sheet
- Cooking spray
- Candy thermometer (optional)
- Food coloring

I don’t even have a silicon mold for my suckers. I just have the lame metal one and they still work great.
Prep your supplies
Before you start cooking your sucker ingredients, you’ll want to prep your sucker molds and spray them with cooking spray. That way you won’t be scrambling when you have hot liquid suckers that will cool very quickly.

Start cooking!
In a saucepan, heat the corn syrup, water and sugar over high heat. Stir with a wooden spoon until mixture comes to a boil. Then, stop stirring and clip on your candy thermometer. You’ll need to let the mixture boil until it reaches hard-crack stage which is 300 degrees Farenheit. This takes about 20 minutes. However, if you don’t have a baking thermometer, just drop a hunk into a bowl of ice water. If it hardens right away, it probably done.

I added the food coloring while my mixture was boiling. You can add it then or at the end. Either way. Once the mixture reaches the correct temperature, add your flavoring.
Pour mixture into molds
Now for the fun part. Carefully take your saucepan off of the stove and slowly pour your mixture into each of the sucker molds. Be careful not to pour too much and over flow the molds. You could pour your mixture from the saucepan to a glass pitcher. However I have found that doing that causes the mixture to cool faster and sometimes I’m not able to fill all the molds before it hardens.

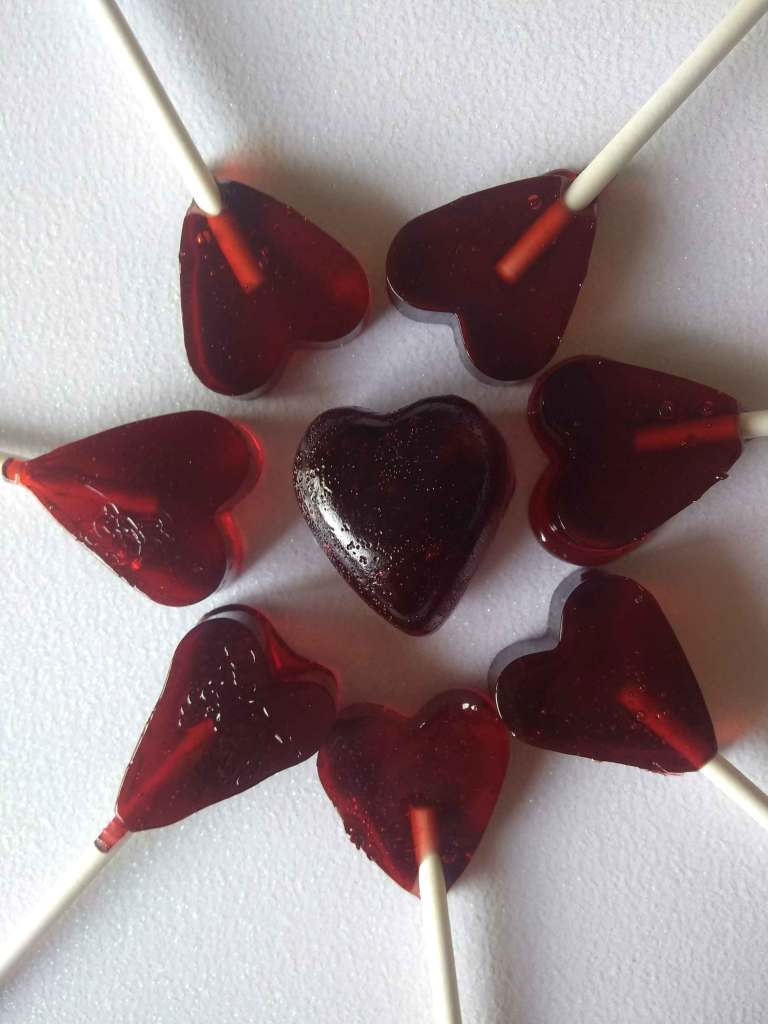
Your homemade suckers just need to cool and you’re done! A word of caution: be careful with the sharp edges on the suckers. They can cut your kids’ mouths if they’re not careful.

I hope you enjoy making these homemade suckers as much as we did. They are perfect for gifts for Halloween, Christmas, Valentine’s Day, St. Patrick’s Day, Easter or any other fun occasion.

Here’s the FREE homemade suckers downloadable recipe to print at home:

Related link: Three delicious cherry recipes your kids will love


2 Comments